Default design templates
Before we get started
- Design templates can be created in two ways. You can either install a design template from our presets or create one yourself.
- We recommend having at least three different design templates for your product. This not only helps customers visualize their options but also makes it easy for them to start personalizing.
About default design templates
- When you have a list of design templates, you can assign which one will be the default.
- The default design will be shown on the product immediately when the customer opens it.
- The carefully selected default design template will enhance the product's appearance, making it look more finished and eye-catching.
Setting a default design template for Shopify product
-
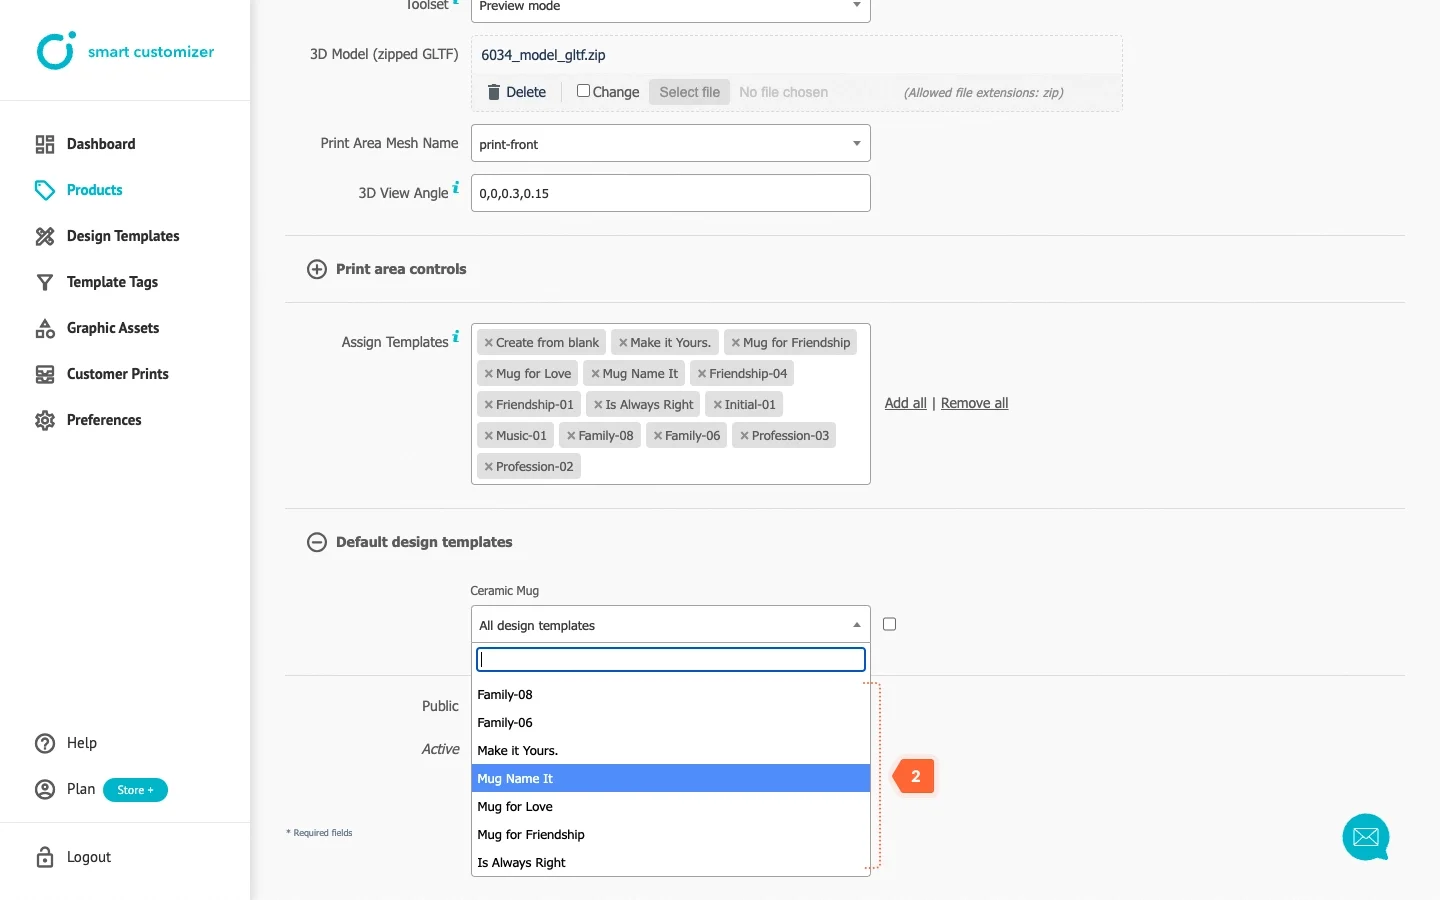
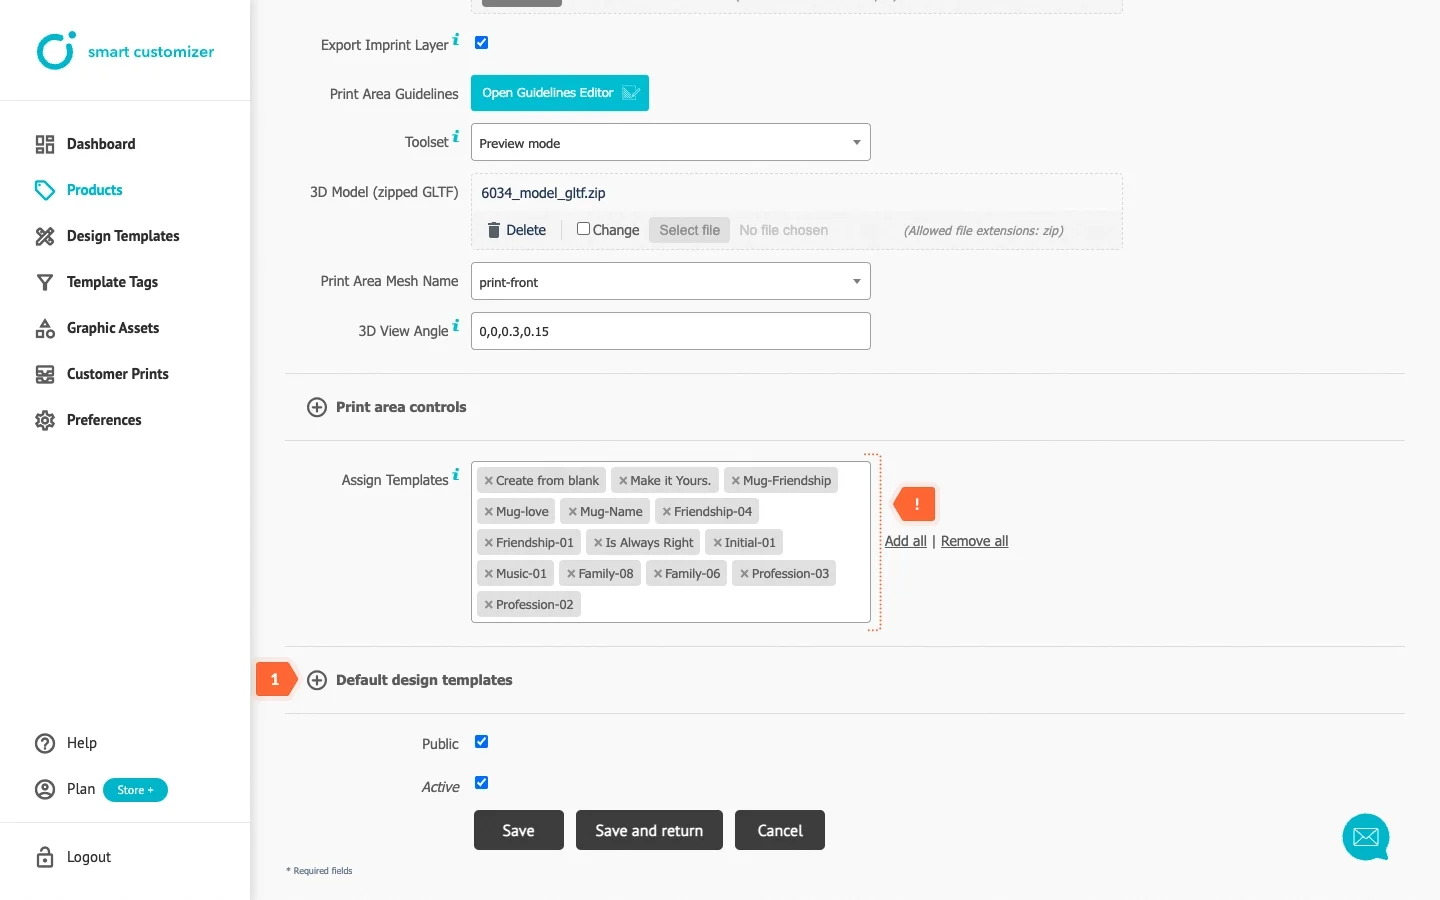
In your chosen product settings, click on Default design templates. Make sure you have assigned Design templates beforehand.
-
Save the changes.
 After clicking the Customize product button the product will be displayed with the assigned design template.
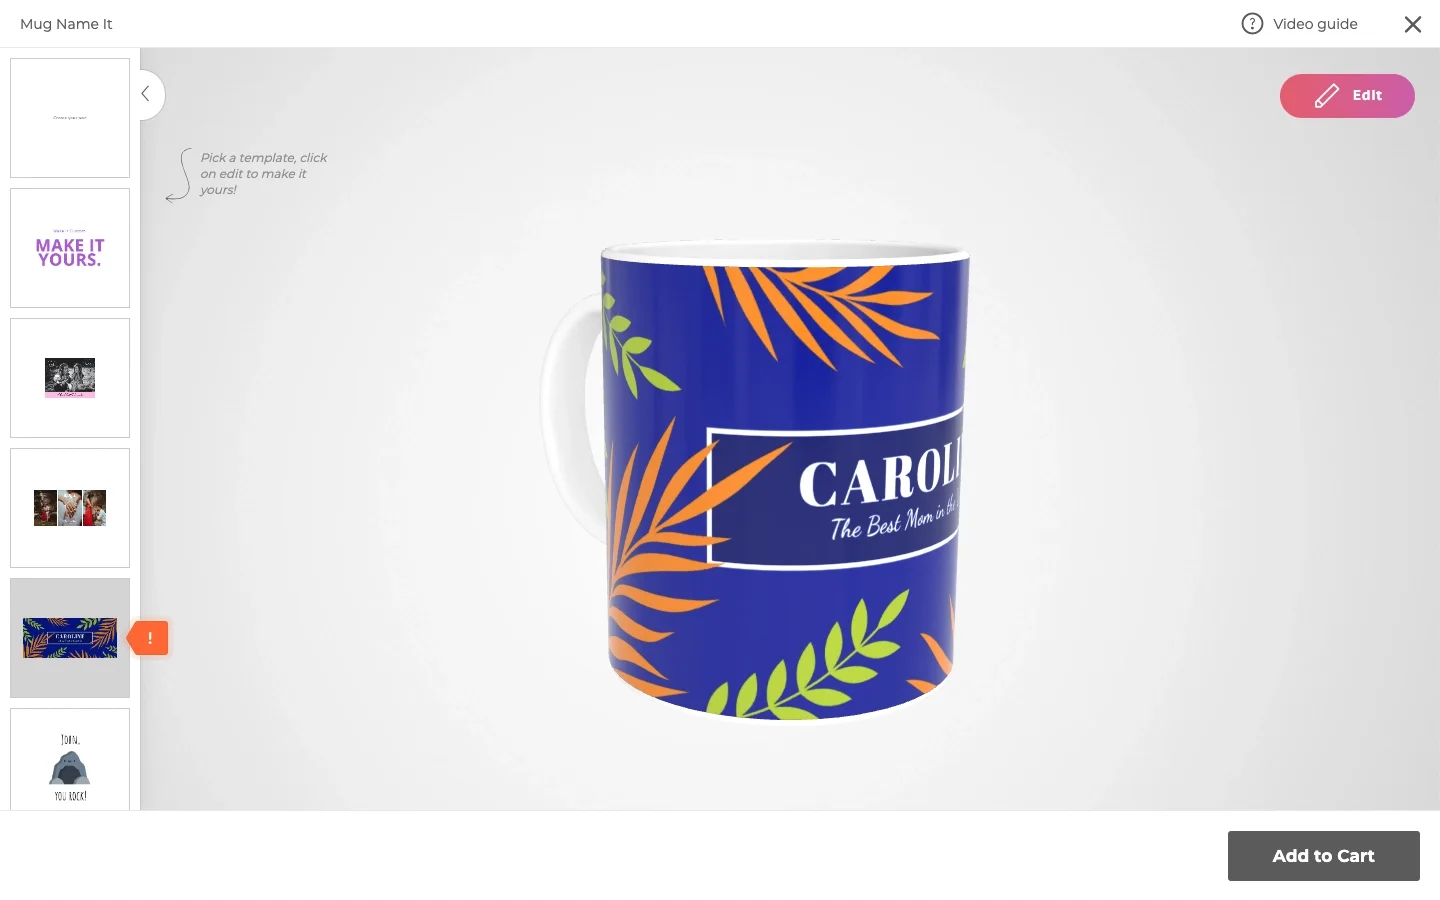
-
If you mark the checkbox next to the default template select field, the product will open only with this design template, without displaying the design option list on the left.

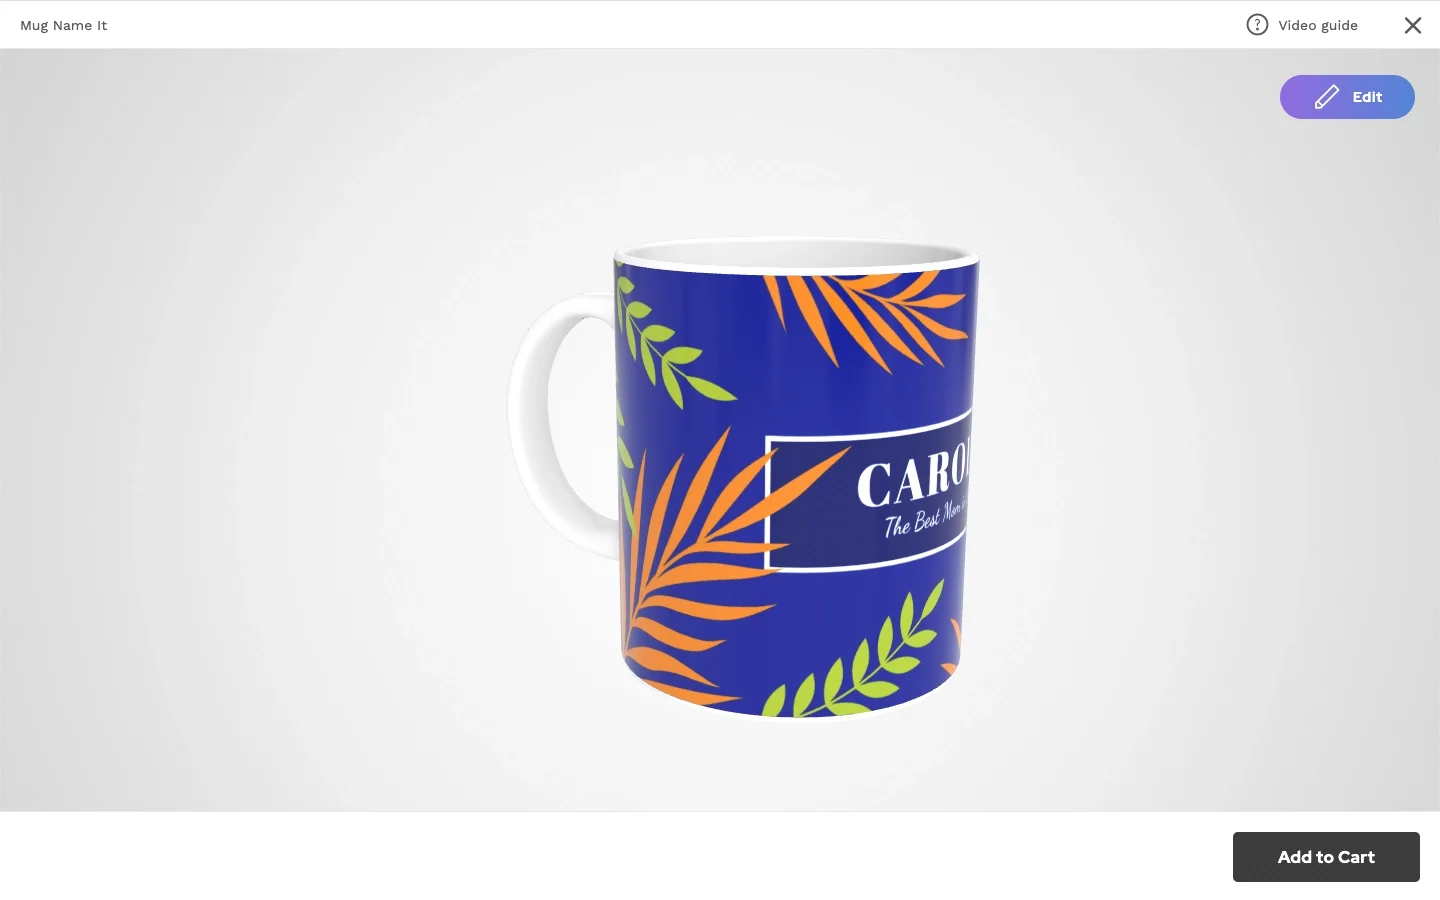
Setting a default design template for Stand Alone products
Just like Shopify products, your Stand Alone product should also be assigned Design templates. The difference is that, to establish a Default design template for Stand Alone products, you will need to know its ID.
- Go to Design templates and locate your desired design template.
- In the first column, you will see the ID number; remember it.
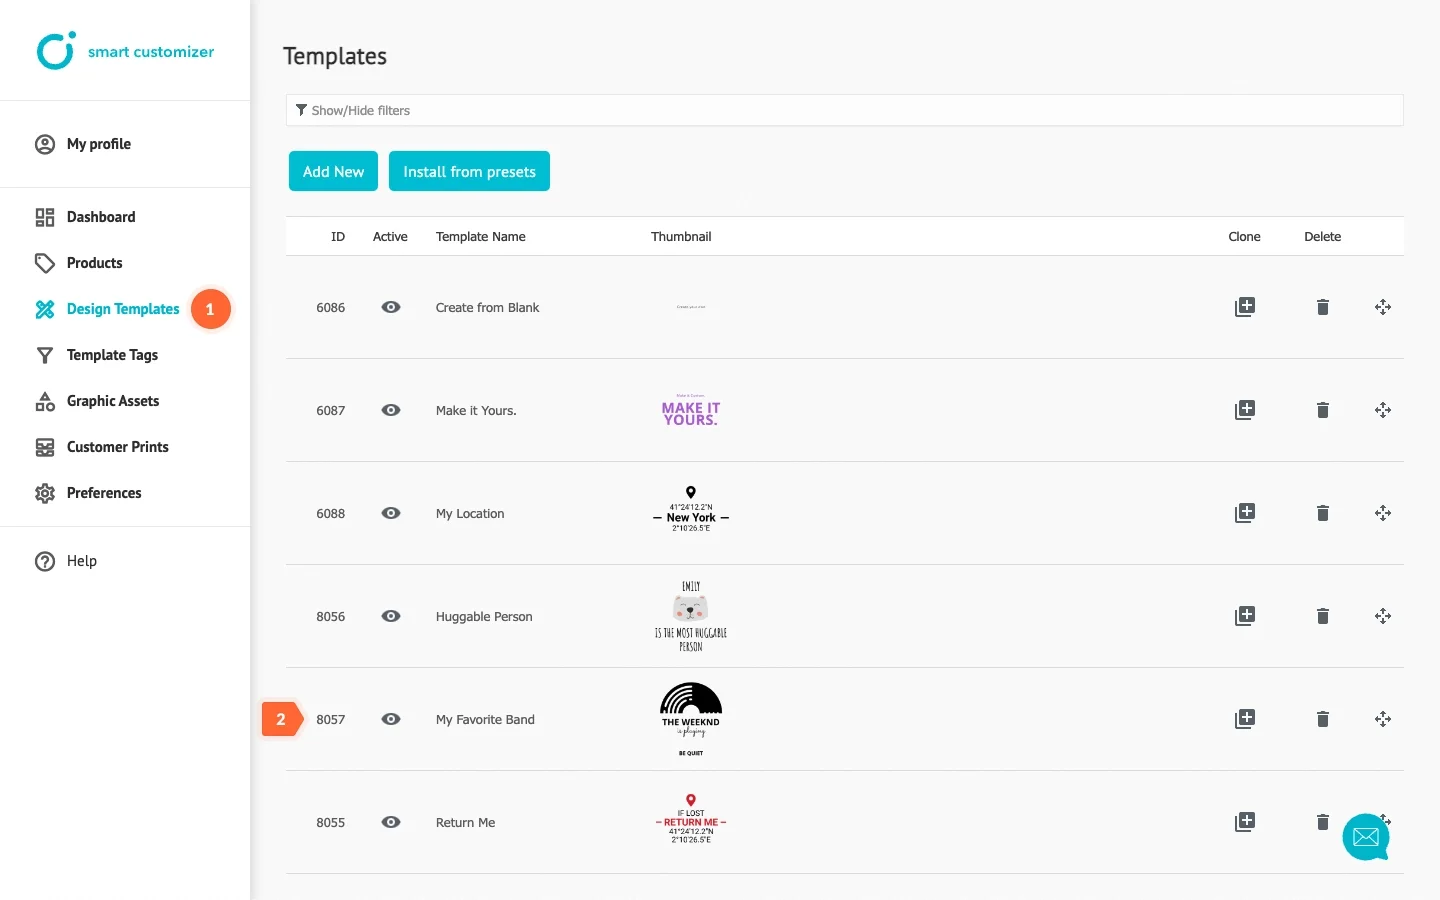
Now, there are two options for setting Default design template. The first method involves displaying a default design on a product along with the list of designs on the left.
- For Embed installation, update your Web Page code with tid parameter and your Design template ID number. This will make your chosen design template shown on your product.
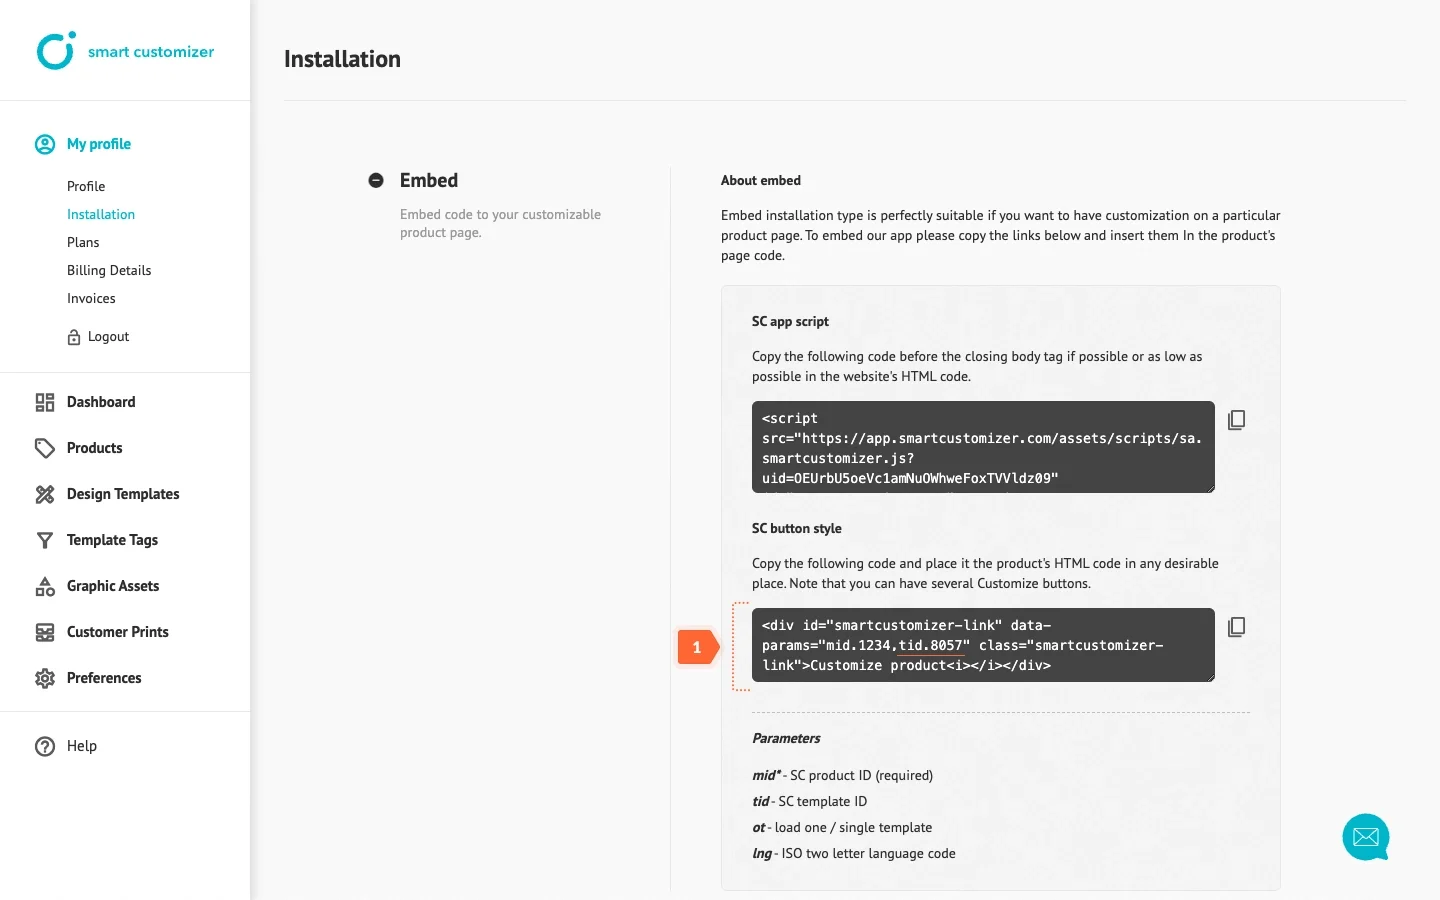
- For SC customizable product URL users, add tid parameter with Design template ID number to the end of your link and it will work in the same way.
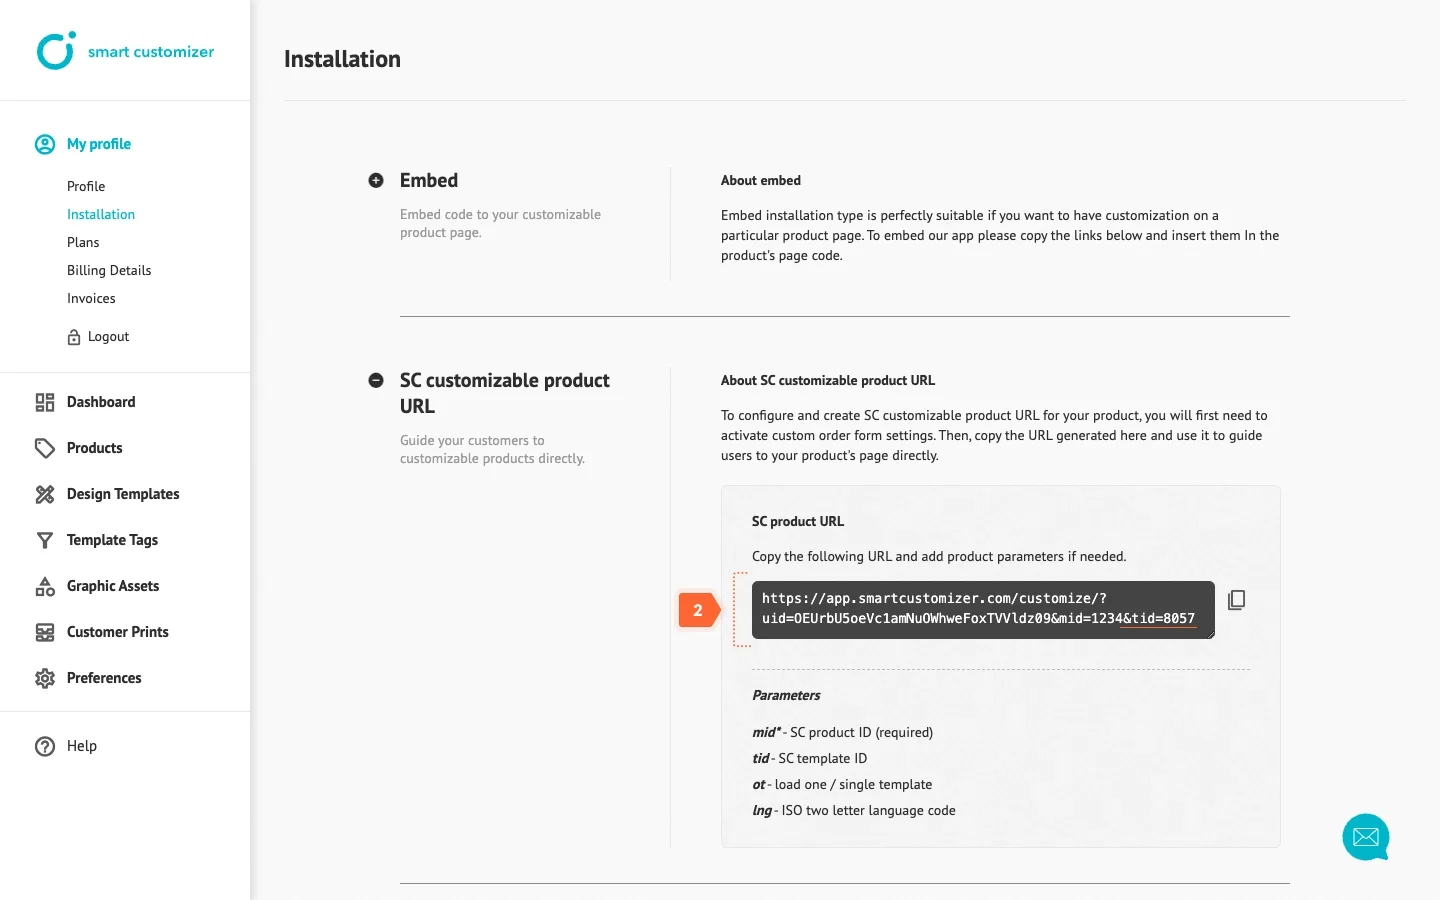
In both installation methods, the product will be displayed with chosen design.
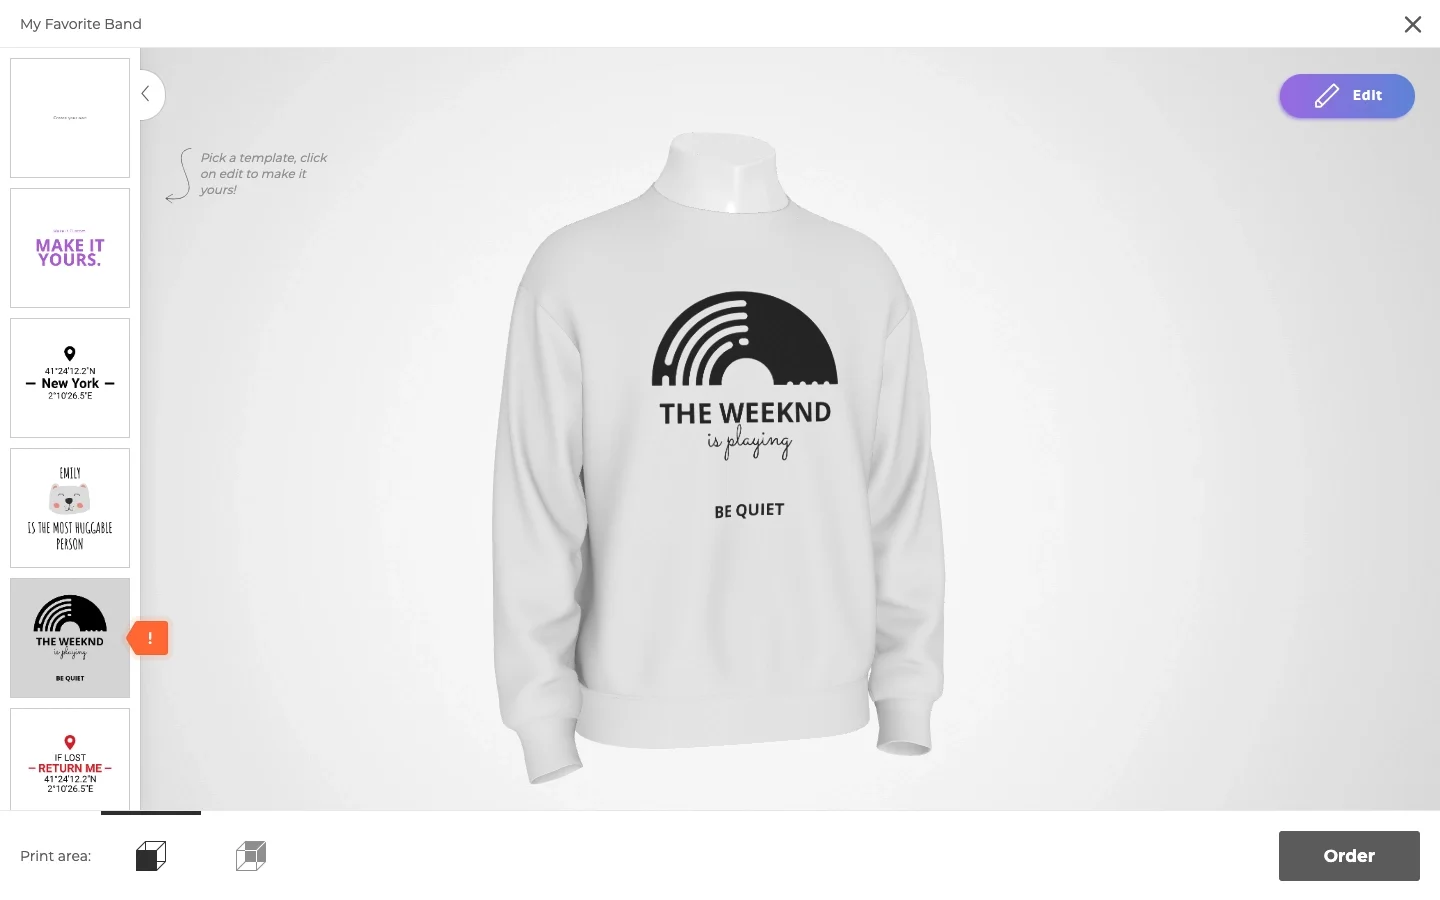
In the second usage option, you can have a list of templates assigned to a product, but for a specific client, you can choose to display only one design. This is particularly convenient as it allows customization options tailored to different clients while managing just one product.
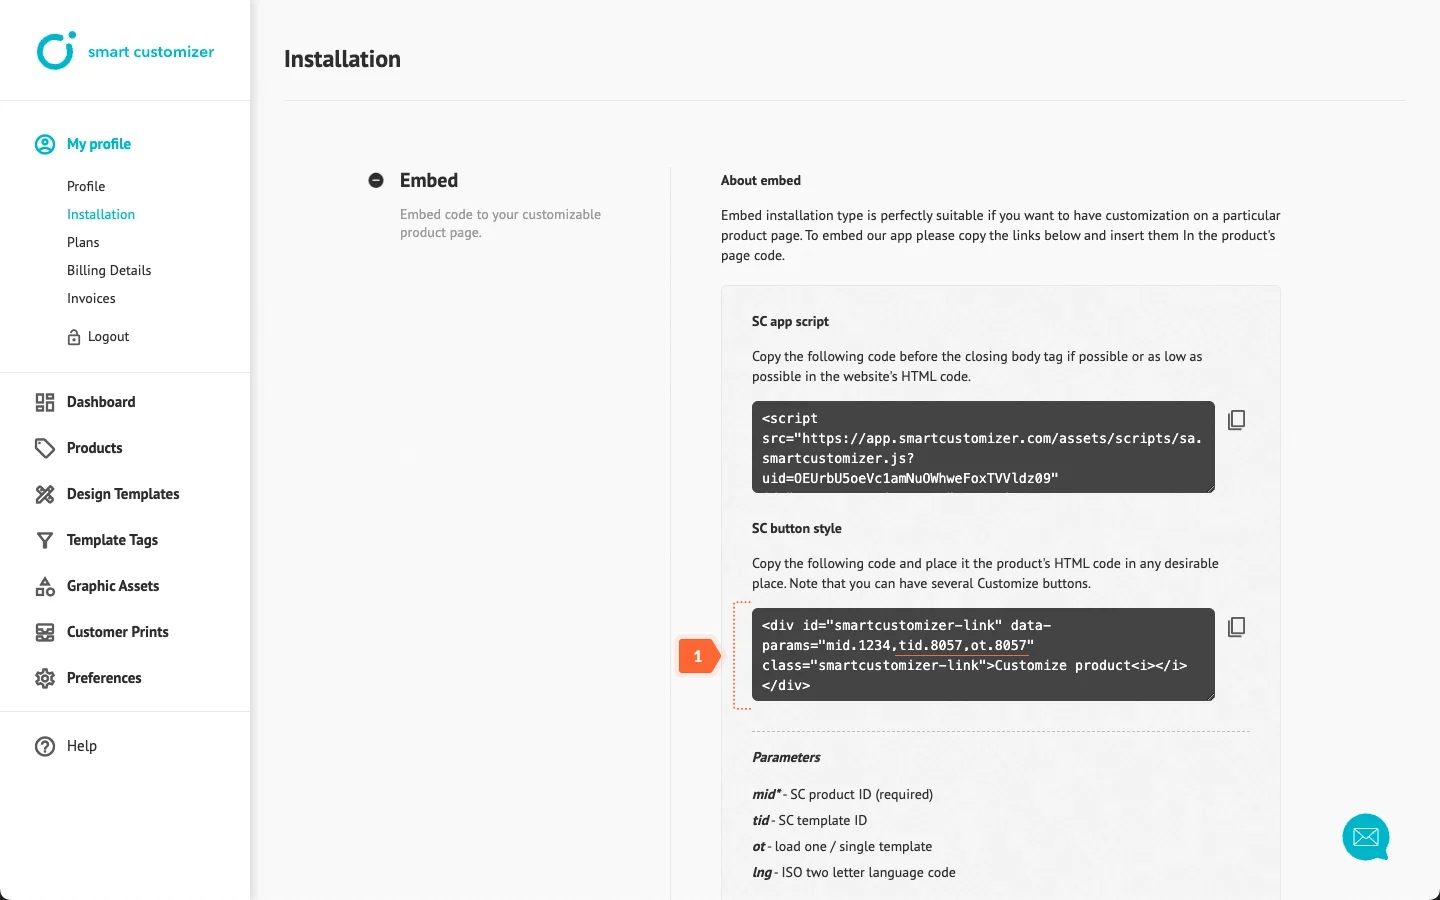
- For Embed installation, include the ot parameter alongside tid in your code, using the identical Design template ID number.
- To achieve this for SC customizable product URL, include the ot parameter alongside tid in the end of your link, using the identical Design template ID number as shown here:
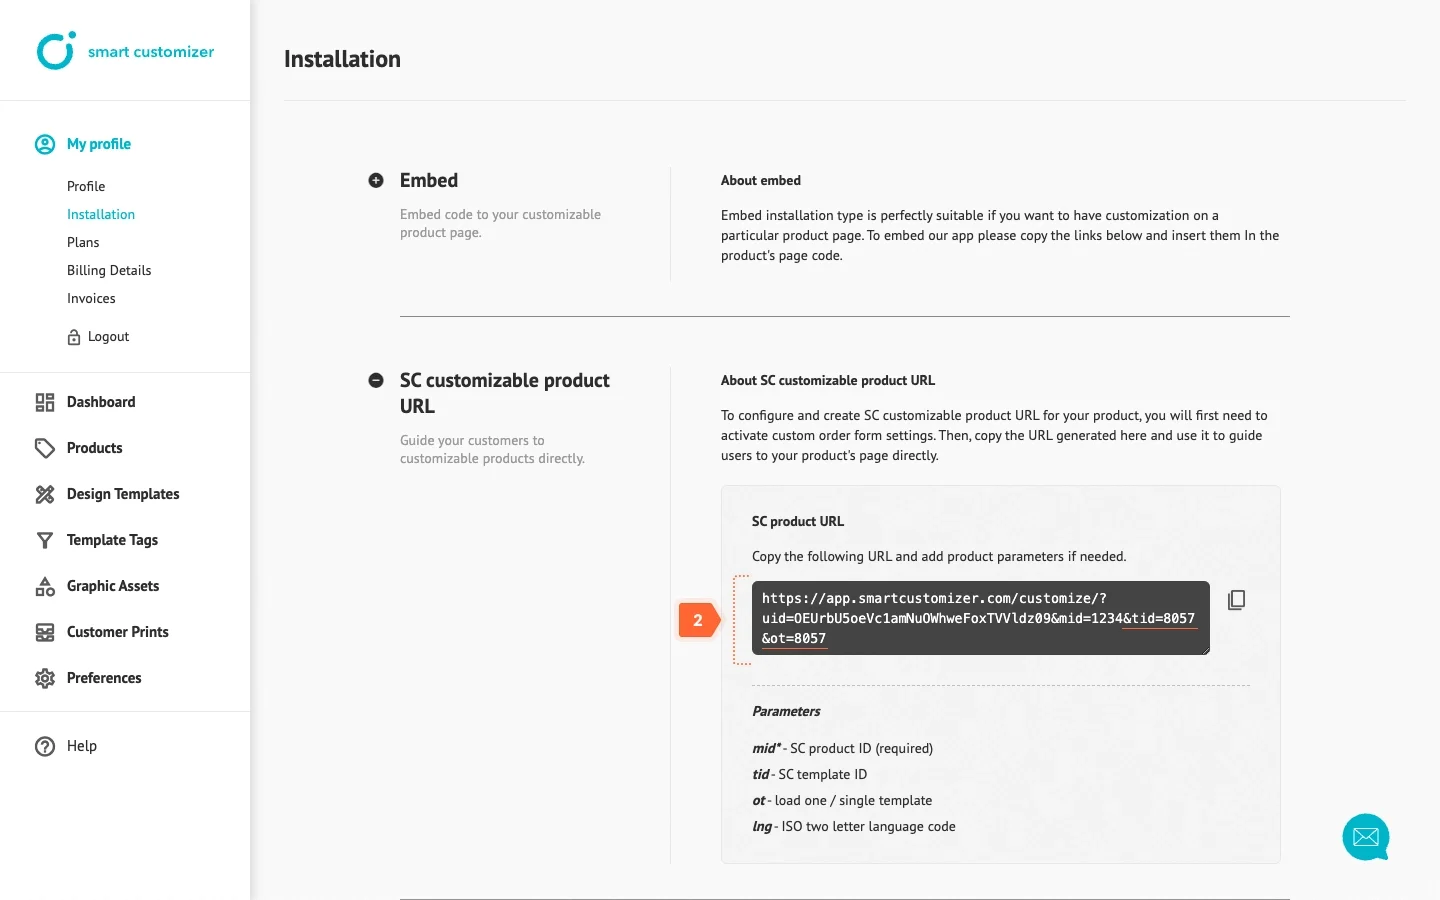
- The product will be displayed with just one design and no other options.
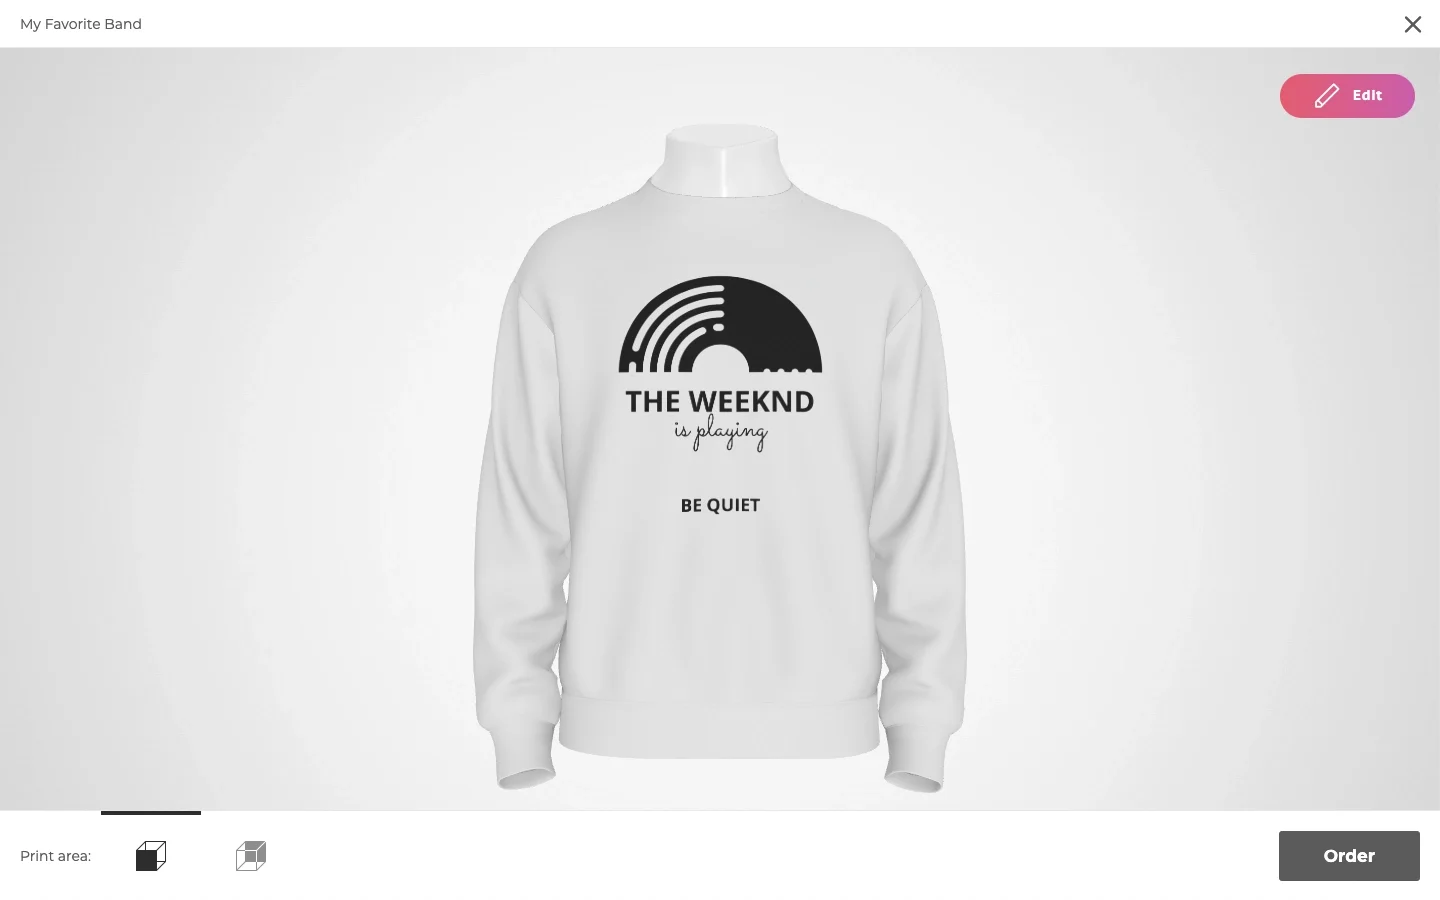
Note: The default design template can be chosen from a list of designs only for the first product print area. If a product has more print areas, each of them can have only one design template assigned, which will be the default.
