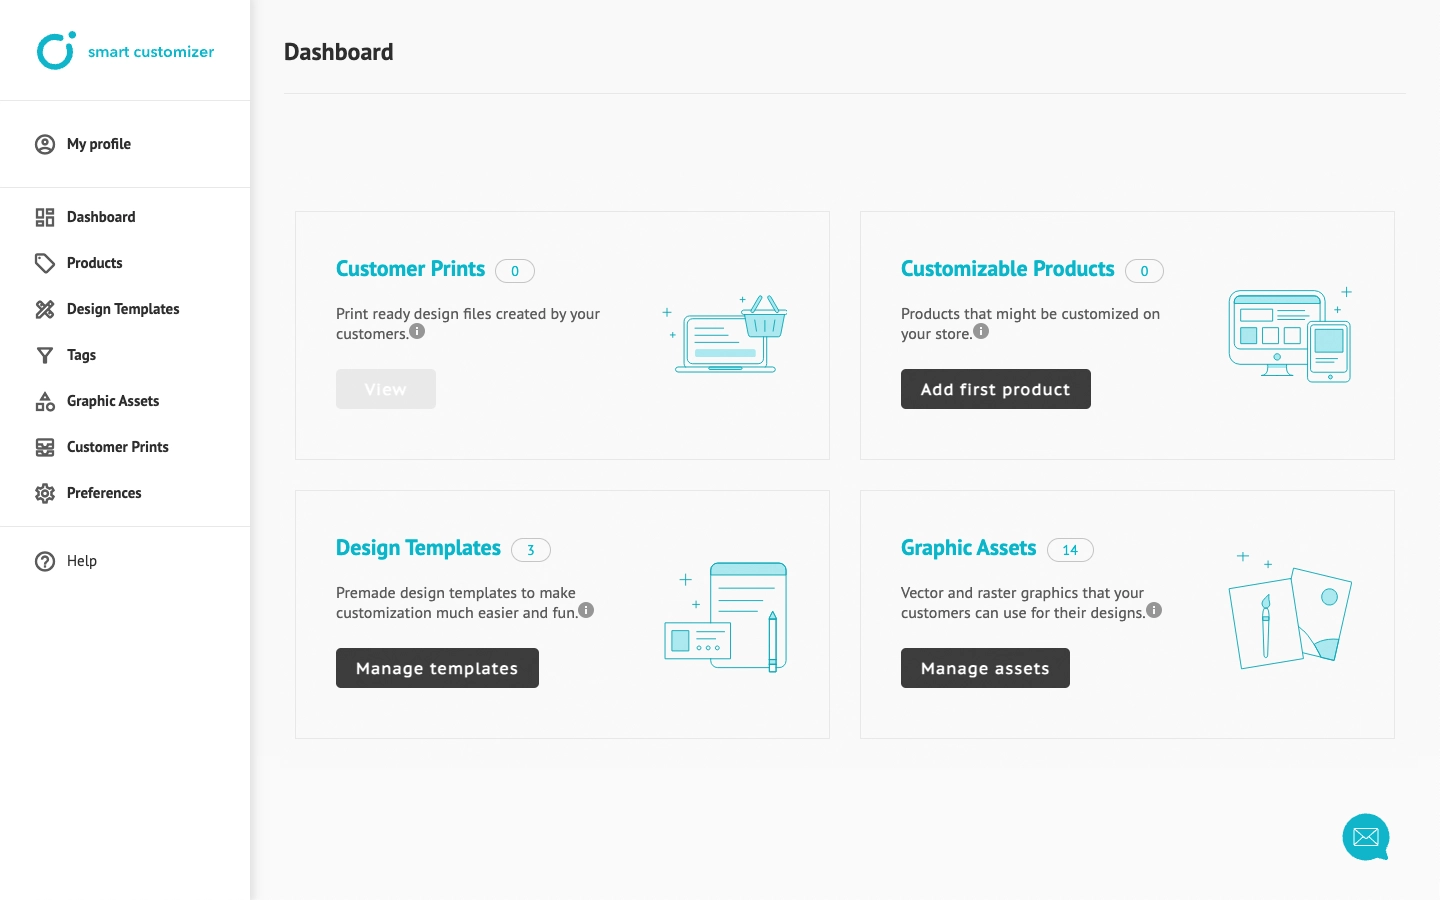
How to install a Smart Customizer plugin in WordPress?
How to install a Smart Customizer plugin in WordPress?
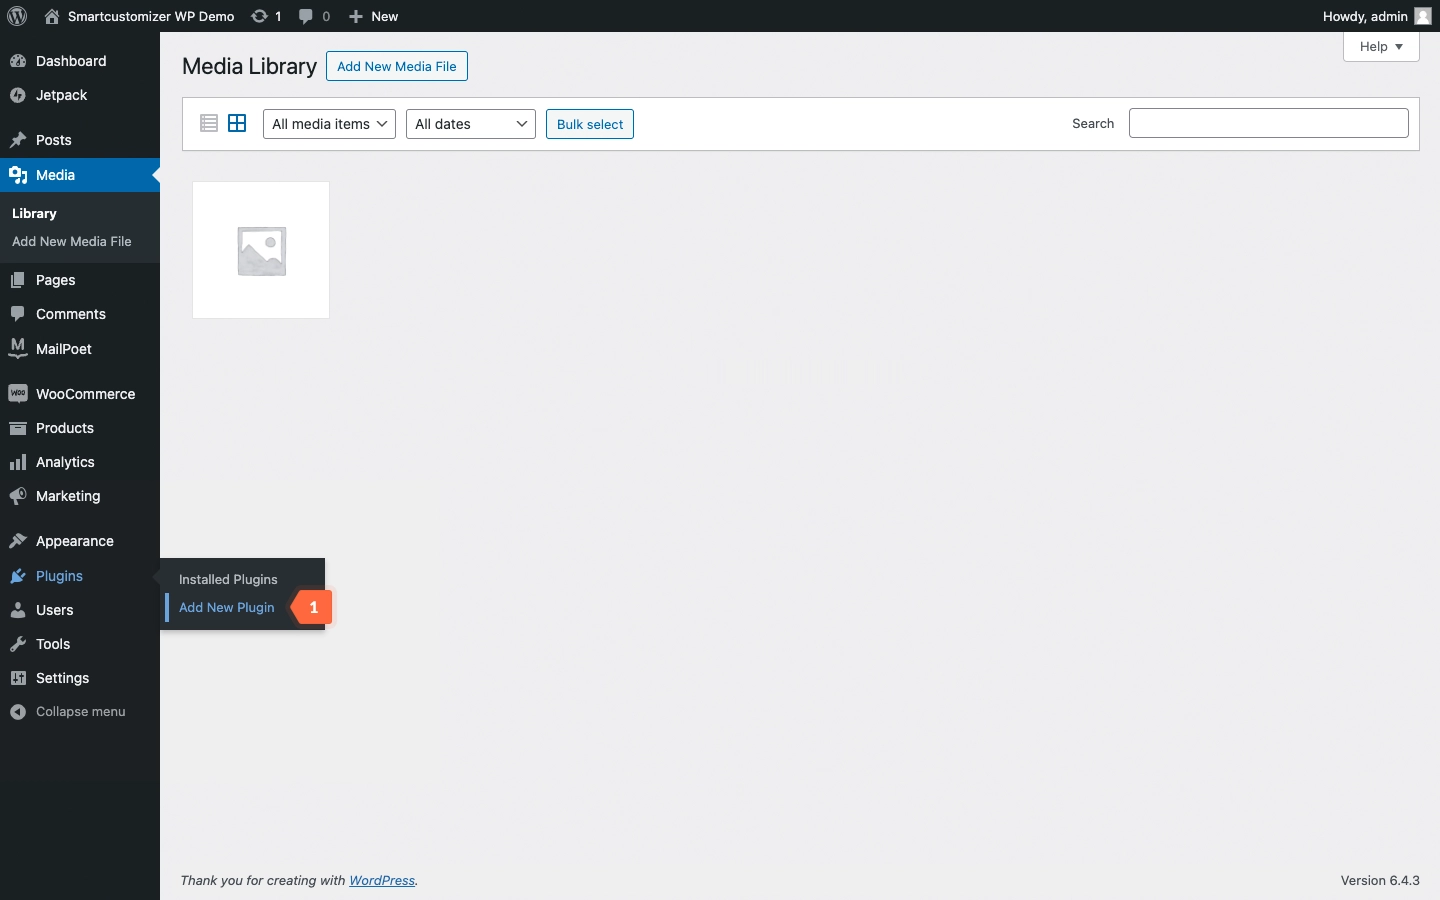
- Log in to your WordPress store and in the dashboard, click on Plugins > Add New Plugin.
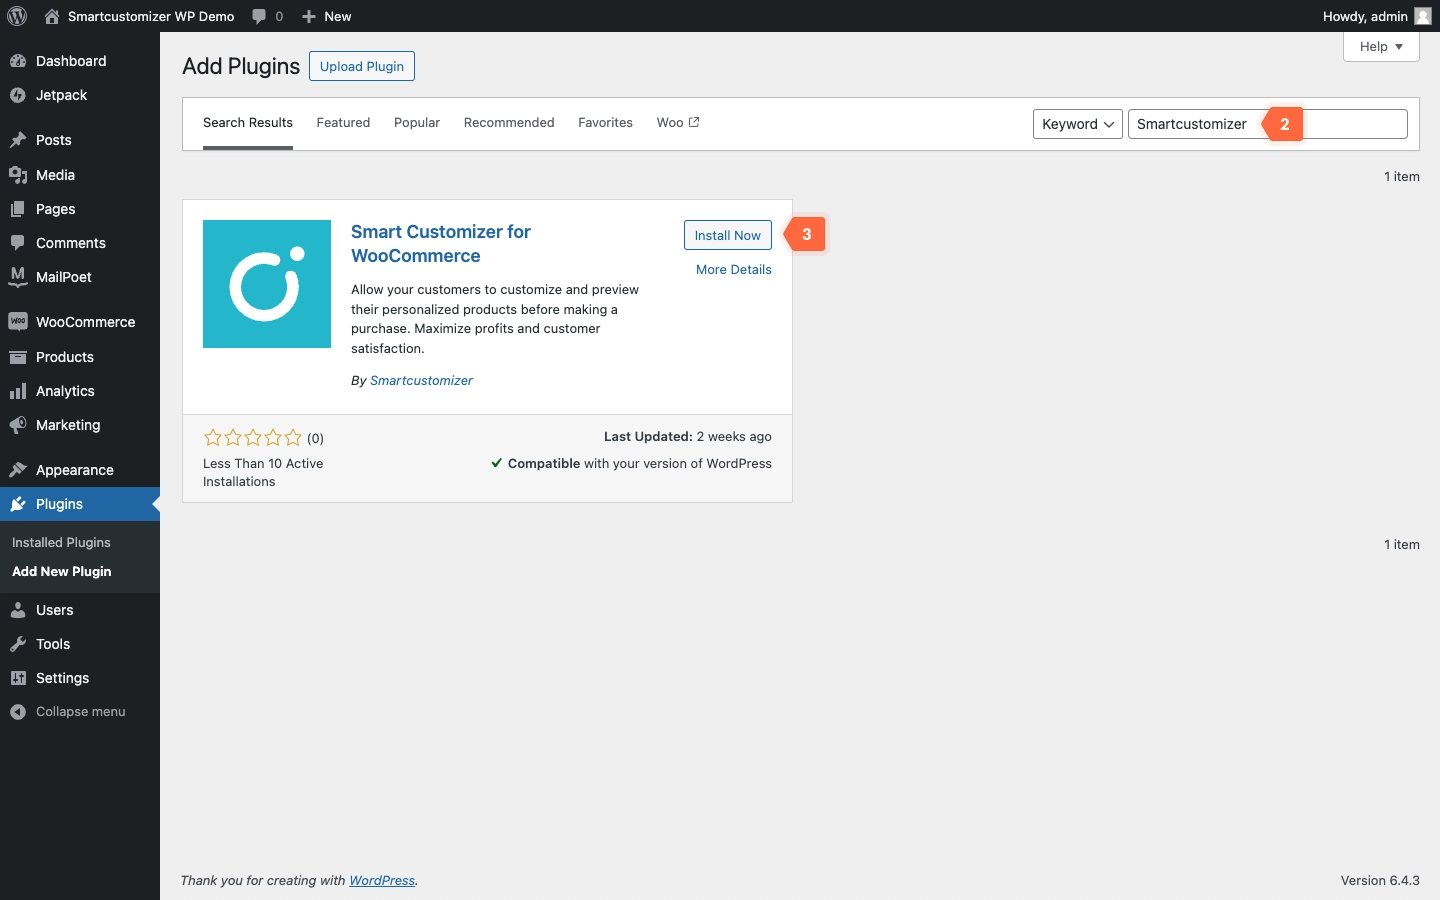
- In the search field type Smartcustomizer.
- Click Install Now and wait a few seconds for the page to reload.
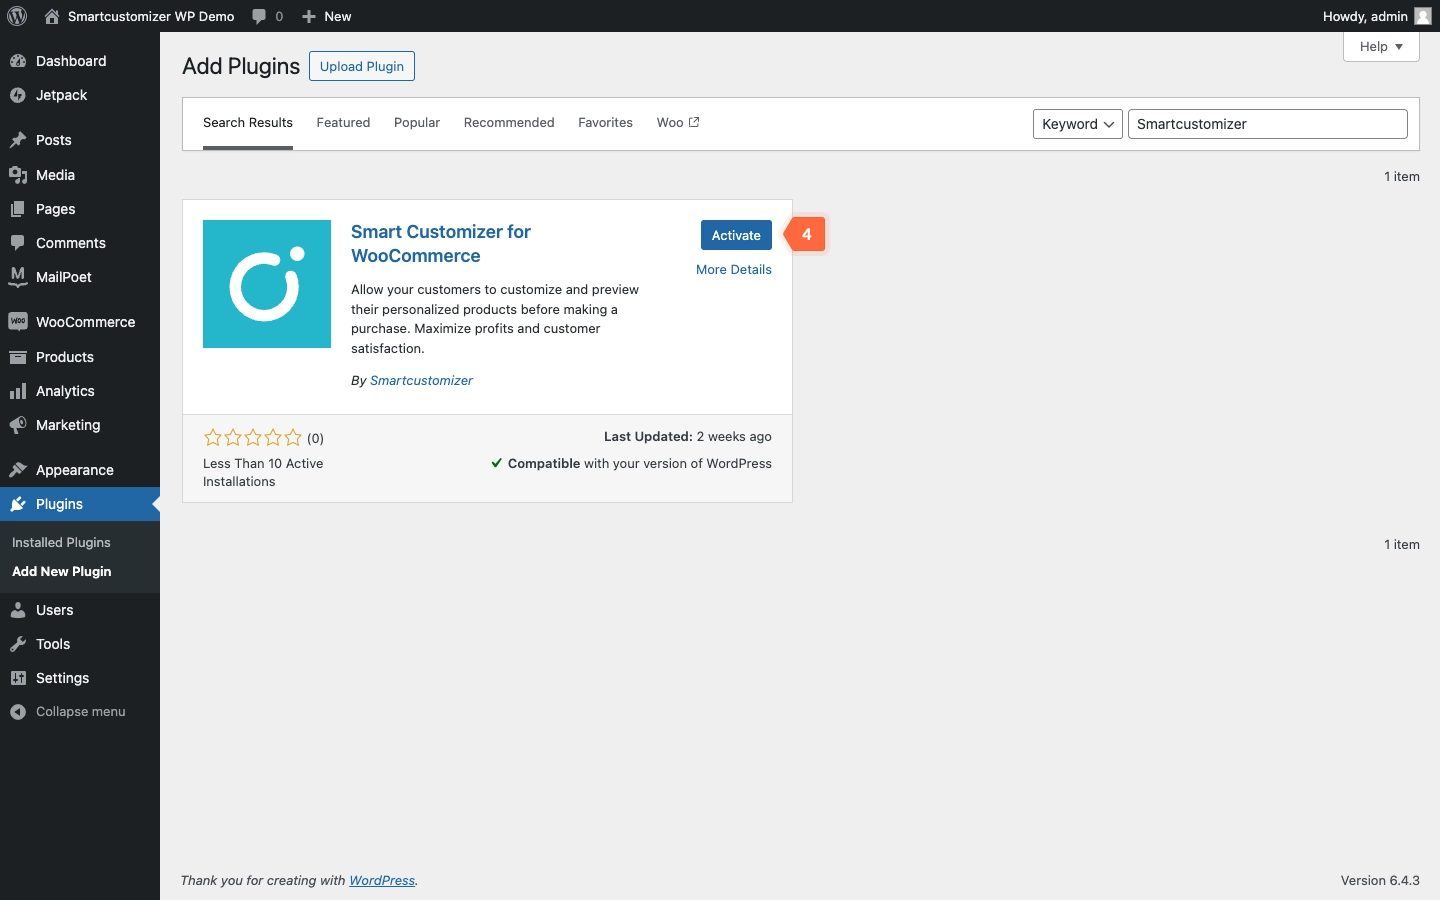
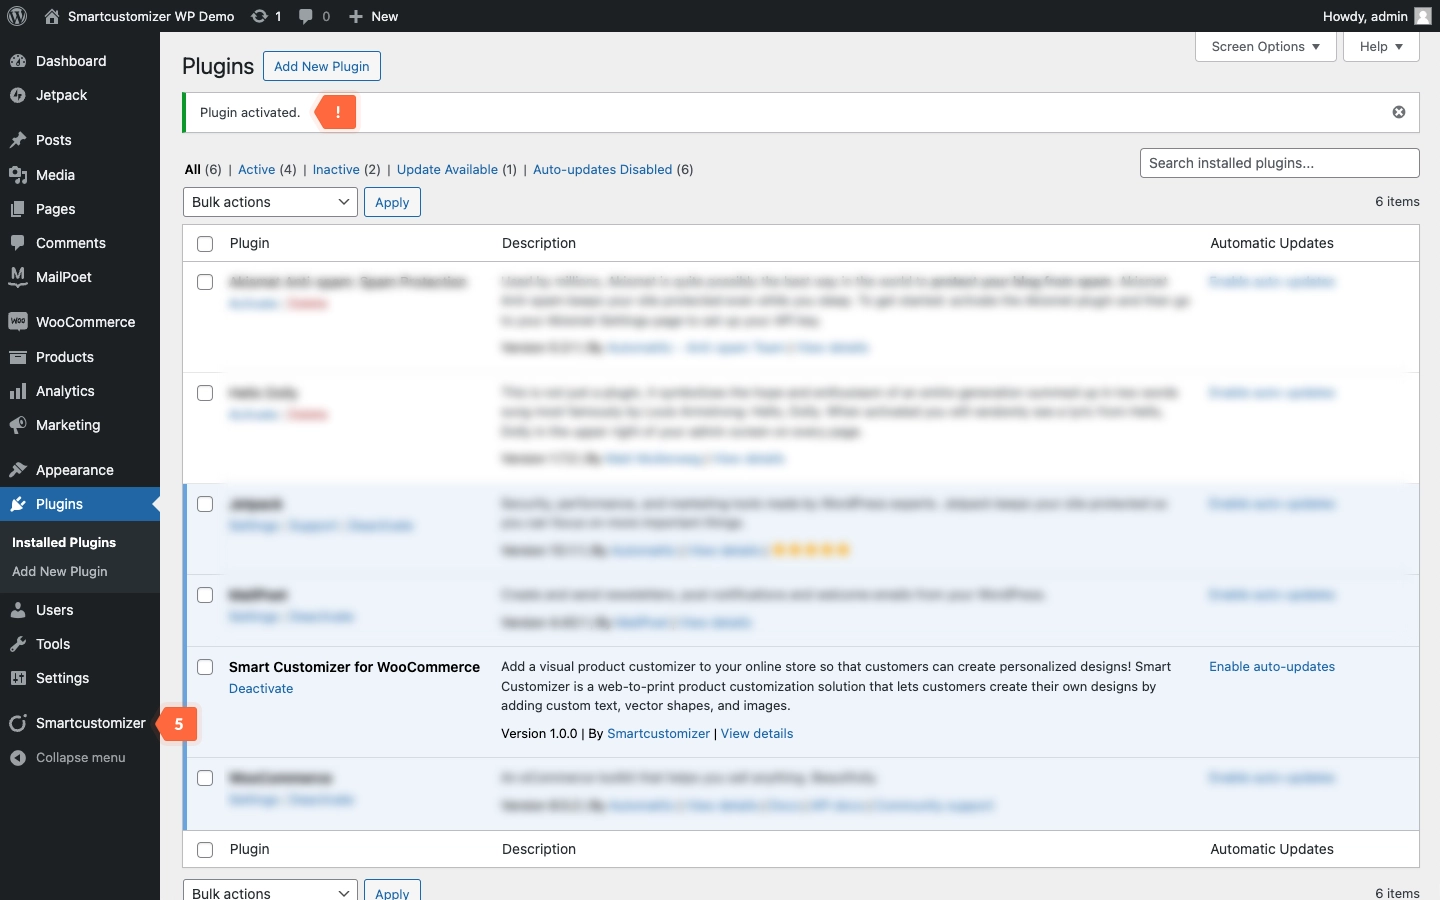
- Click Activate.
- Plugin activated. Continue by selecting Smart Customizer in the dashboard.
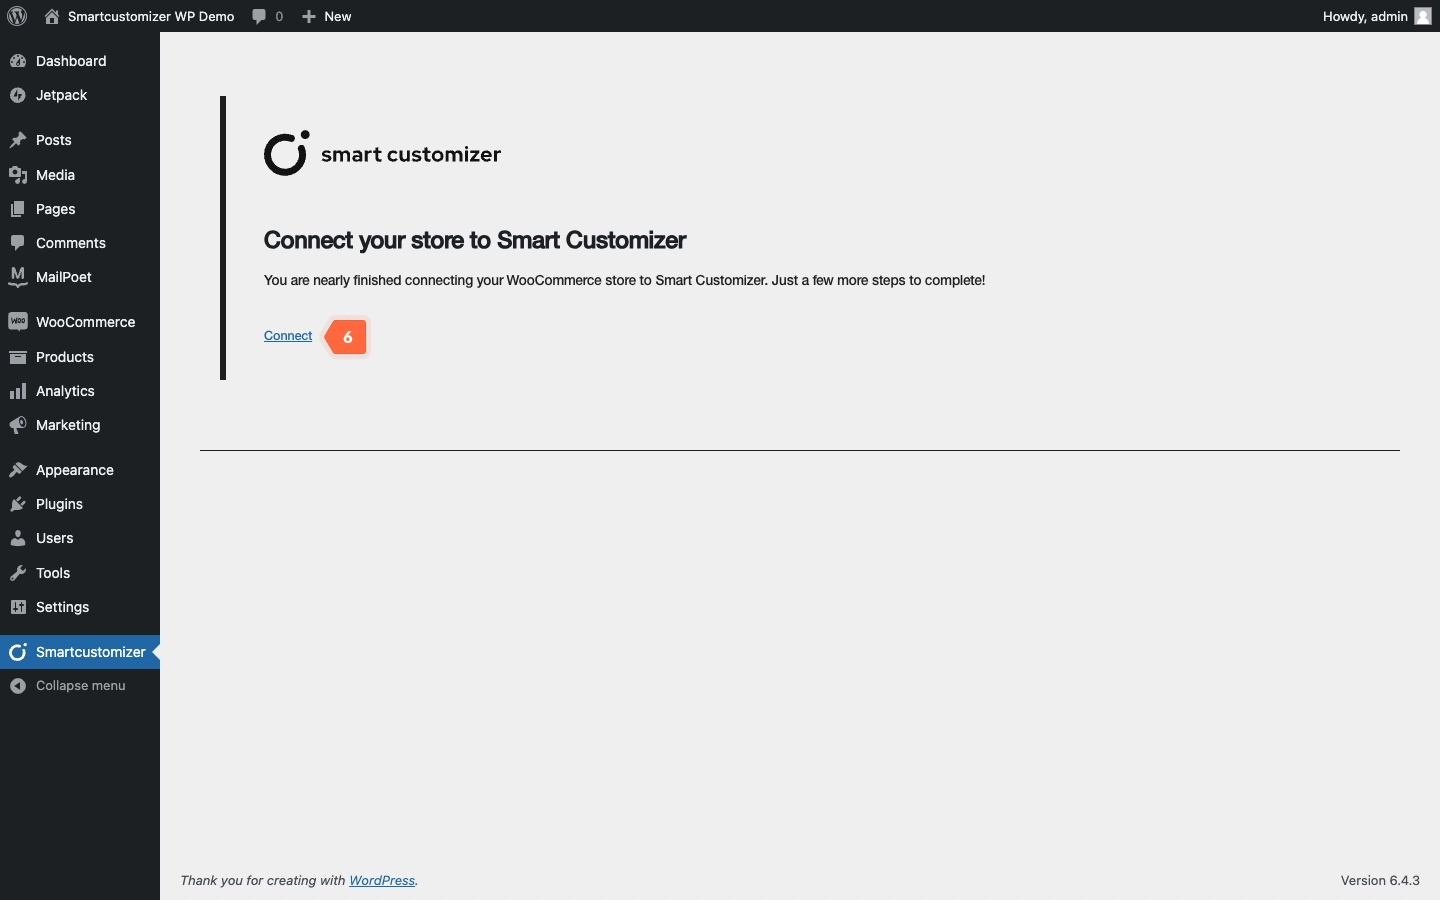
- Click Connect to link your store to the Smart Customizer app.
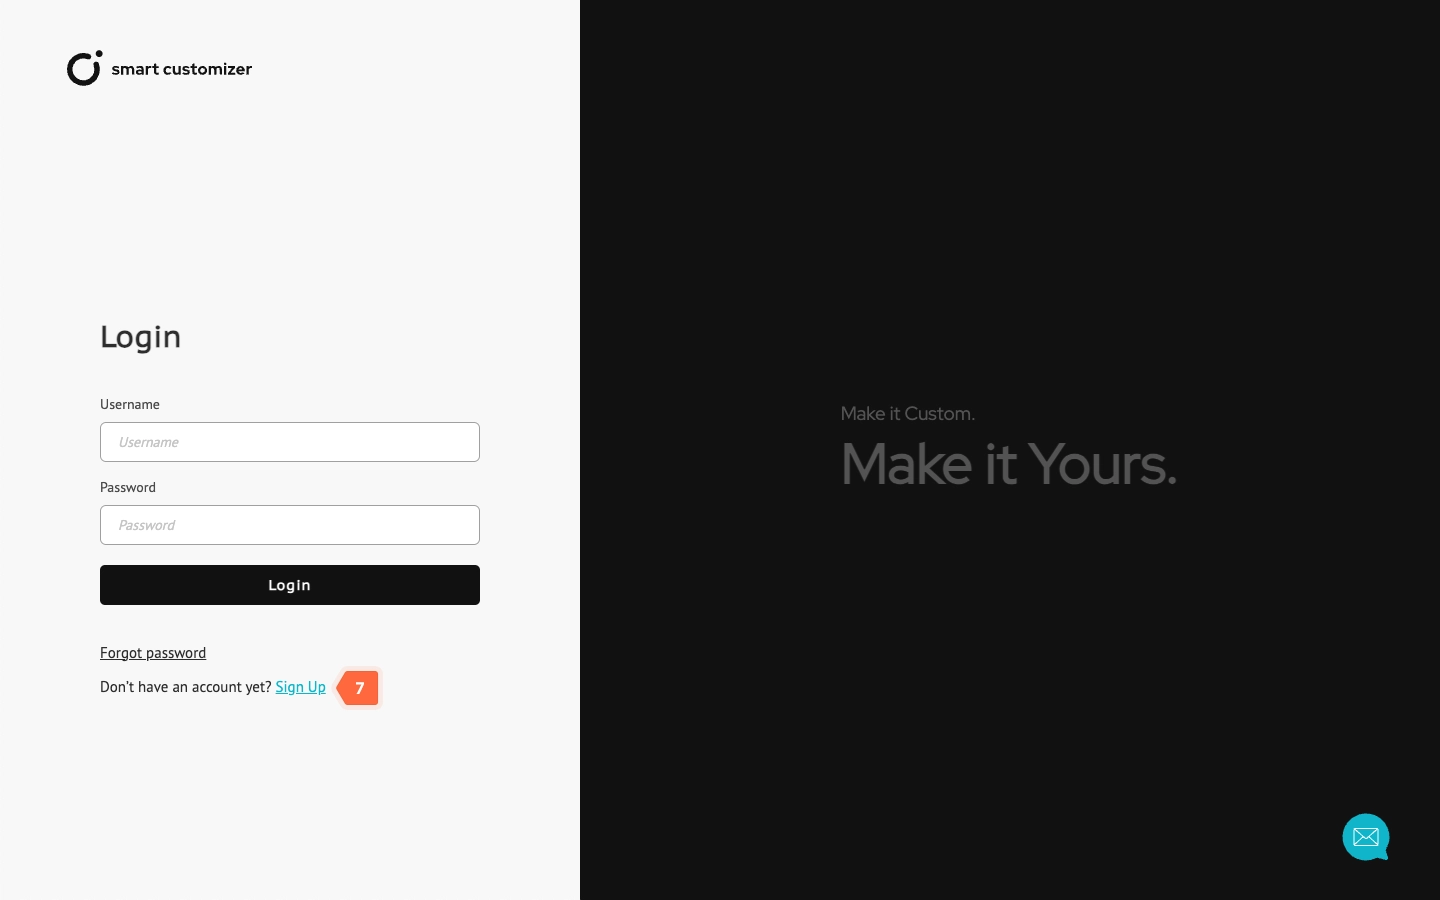
- New users need to sign up before they can proceed. To do so, simply click on Sign up.
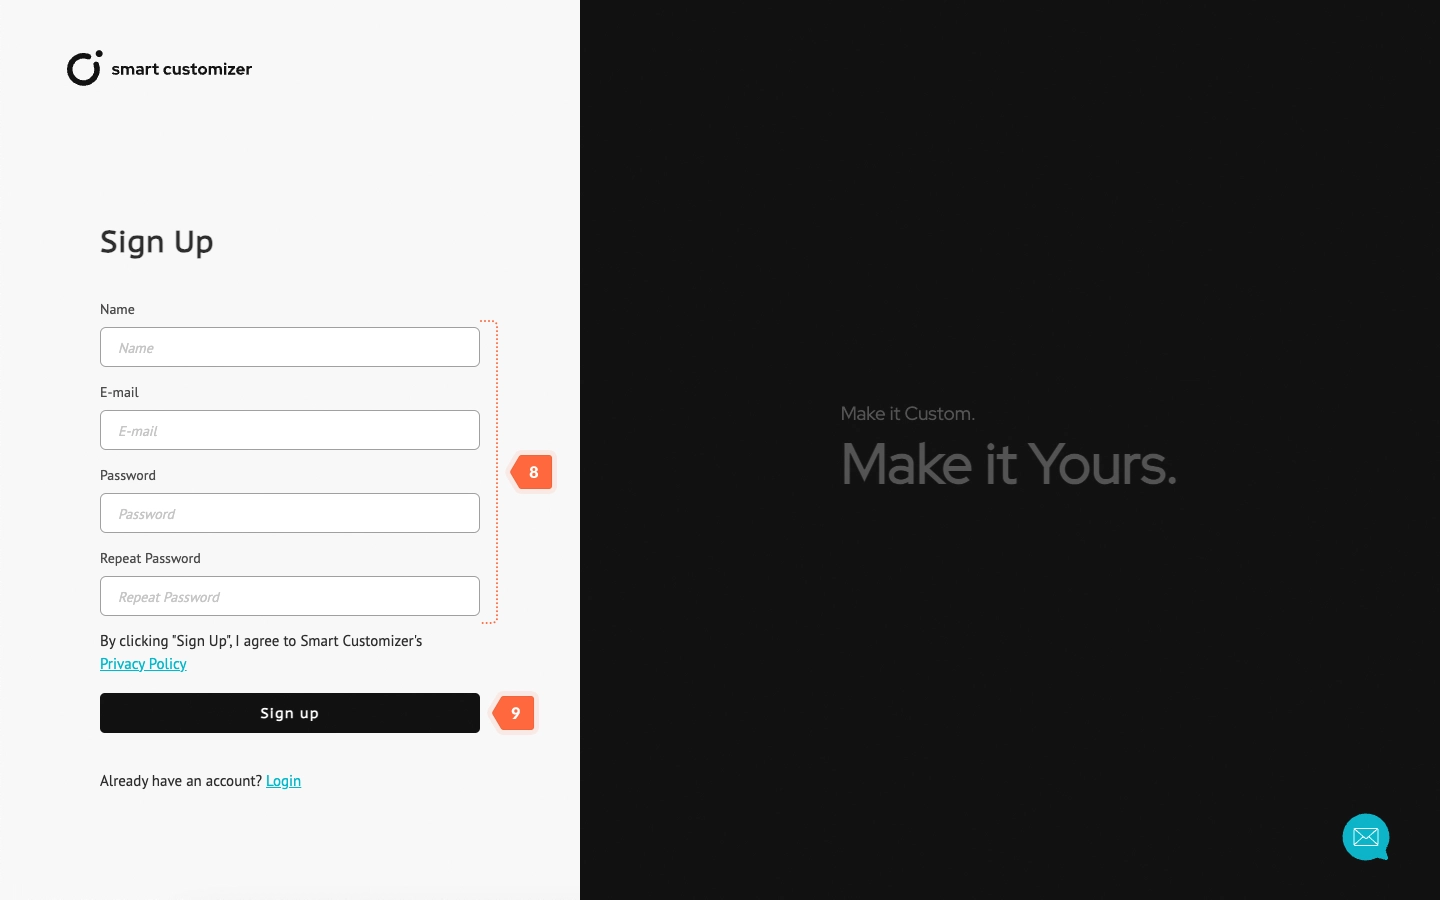
- Enter all necessary information for registration.
- Click on Sign up.
- Access your email to confirm the verification link.

- After clicking the link in your email, the confirmation message will open in a new window. You can now return to the Login page.

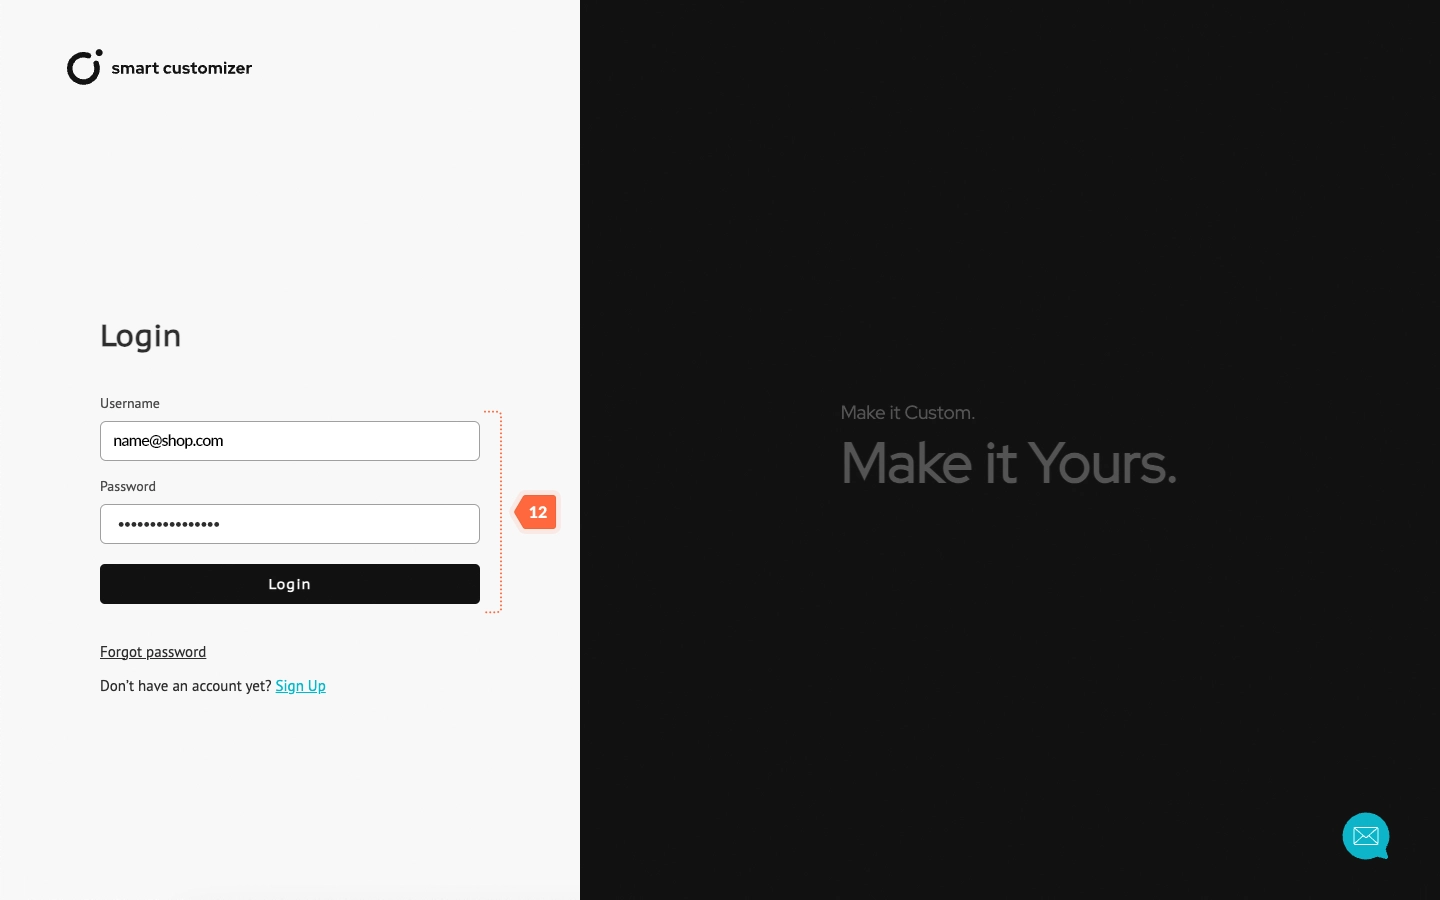
- Enter your Username and Password, then click on Login.
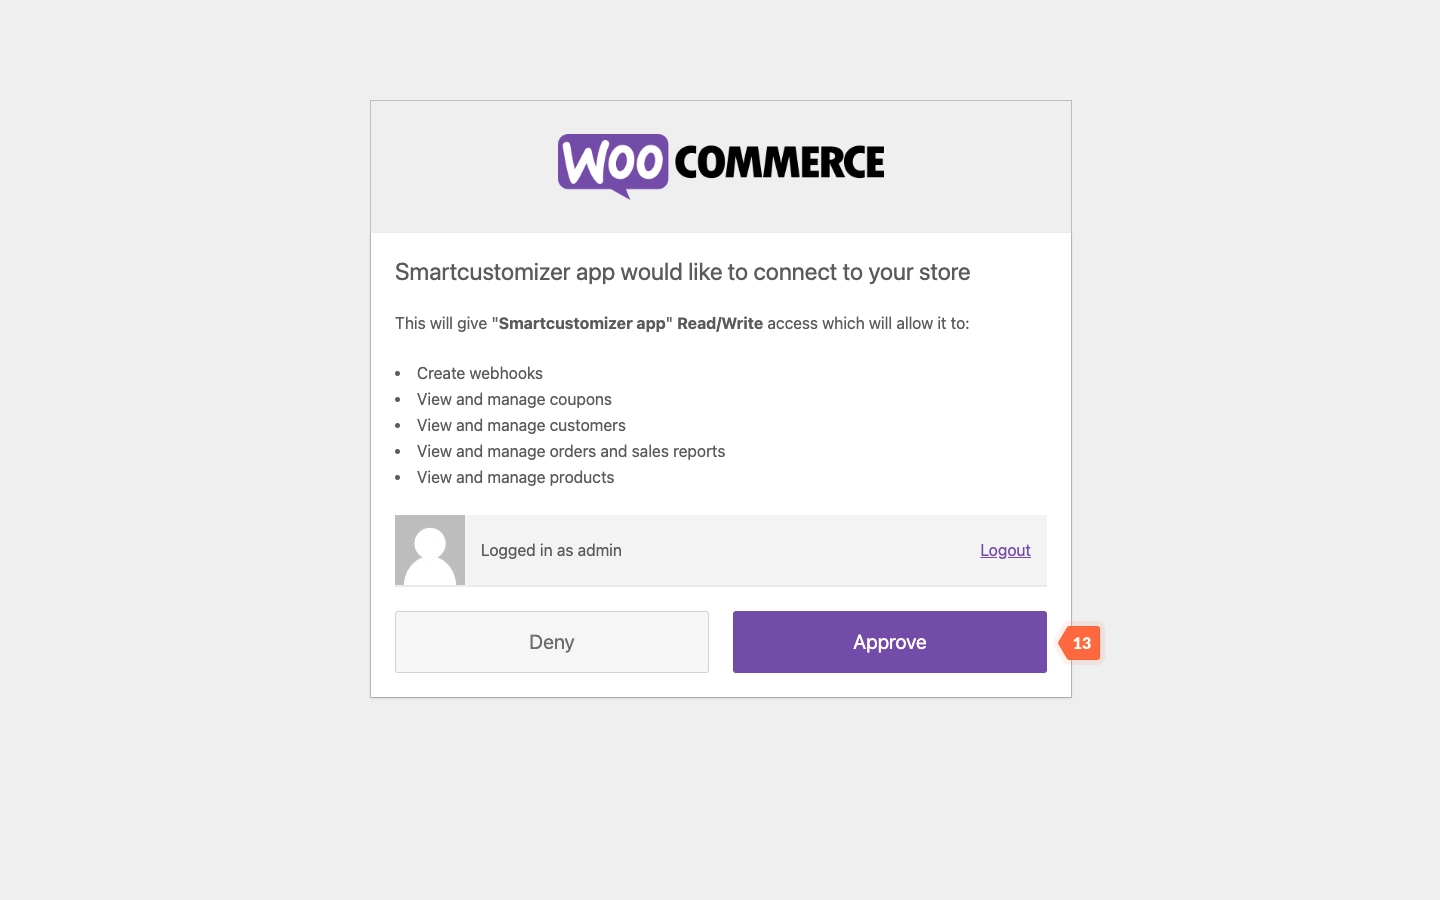
- Approve the Smartcustomizer app's connection to your store.
All set! You're ready to begin customizing your products! You can either install product template from our presets or create your own 2D or 3D products.
NOTE: Before beginning to create product templates, please restart your web session.


