

On this page
Most suitable file formats and specifications for print-ready artwork of custom prints
Those working with custom printing know that getting all technical details right is crucial to ensure the best print quality possible. But whether it's the soft weave of a t-shirt, the smooth surface of a ceramic mug, the tactile feel of paper, or the cold, hard touch of metal, each material presents its unique challenges and opportunities, so there’s a lot to learn.
Whether you're a seasoned designer, an e-shop owner, or a printing enthusiast, this guide aims to equip you with the knowledge to make fewer mistakes and have more happy customers.
Best file formats for customizable print-ready artwork
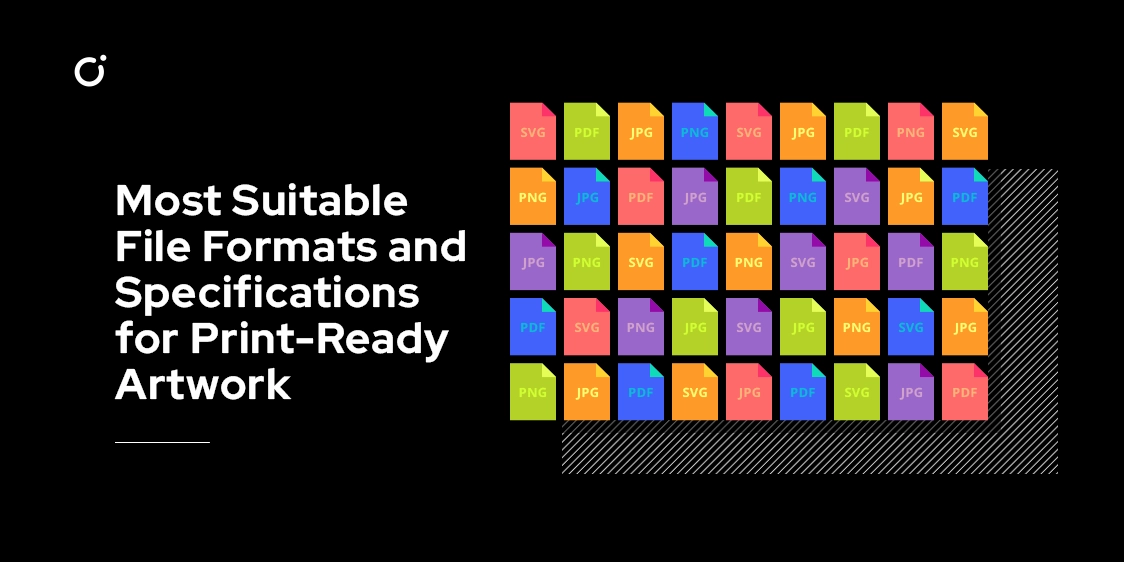
When considering customization software for an e-shop where customers can design their own products, it's essential to strike a balance between versatility, user-friendliness, and your printing requirements. While traditional printing would rely on professional designers or you as an e-shop owner who can handle a wide range of file formats, web to print business model makes you choose your output file format and how you’ll get all your customer's designs. So which ones are the most versatile?
1. JPEG (Joint Photographic Experts Group):
Pros: Widely recognized and used. Most digital cameras and smartphones save images in this format. It's suitable for photographs and detailed images. Cons: It's a lossy format, meaning some image quality is lost during compression. However, if saved at high quality, the loss is usually negligible for most applications.
2. PNG (Portable Network Graphics):
Pros: Supports transparency, which is essential for designs that don't cover an entire product (e.g., a logo without a background). It's a lossless format, so it retains image quality. Cons: File sizes can be larger than JPEG, especially for high-resolution images.
3. PDF (Portable Document Format):
Pros: Versatile and can contain both vector and raster graphics. Many online design software options allow users to save or export their designs as PDFs. Cons: Not all PDFs are created equal. Depending on how they're generated, they might not be optimized for printing. However, in most product customization tools, they're generally sufficient.
4. SVG (Scalable Vector Graphics):
Pros: It's a vector format, meaning it's resolution-independent and can be scaled without loss of quality. Ideal for logos, icons, and simple graphics. Cons: Not all online customization software can generate output files in this format, however, it’s becoming more popular.
Print-ready Artwork Specifications:
Resolution: For raster images, a resolution of at least 300 DPI (dots per inch) is recommended for print. Lower resolutions might appear pixelated or blurry when printed.
Color Mode: Use CMYK (Cyan, Magenta, Yellow, Black) color mode for printing. RGB is used for digital displays and might not reproduce accurately in print.
Bleed: Ensure your artwork has an extra margin (usually about 0.125 inches) beyond the actual print size. This ensures that when the product is cut, there are no white edges.
Fonts: Convert all fonts to outlines or embed them in the file. This ensures that the exact font you used is printed, even if the printer doesn't have that font installed.
Transparencies: Flatten transparencies. Some print processes can't handle transparencies, which can cause issues in the final print.
Material Specific Considerations for custom prints:
1. Textile:
Color Absorption: Different textiles absorb colors differently. Light-colored fabrics might require more vibrant artwork, while dark fabrics might need adjustments for contrast.
Detail: Fine details might get lost on textured fabrics. Simplify designs or increase the contrast to ensure clarity.
File Resolution: For Direct-to-Garment (DTG) printing, a high-resolution image (at least 300 DPI) is essential to capture all the design details.
Ink Spread: Fabrics can cause inks to spread slightly. Avoid extremely thin lines or intricate patterns that might merge together.
2. Ceramic:
Curvature: If you're printing on a curved surface (like a mug), ensure your design accounts for this. Text and important design elements should be kept away from edges where distortion might occur.
Heat Changes: Some ceramic inks change color with heat. Ensure your design will still look good if colors shift slightly.
File Resolution: High-resolution images are essential, especially for detailed designs.
Safe Area: If printing on dishware, keep designs away from areas that will come into contact with food or lips.
3. Paper:
Bleed: Ensure your artwork extends beyond the final cut size. This prevents any white edges from showing if the cut isn't exact.
Color Matching: Colors might appear differently on screen compared to when they're printed. Use a CMYK color profile and consider doing a test print to check color accuracy.
Text Size and Fonts: Ensure text is legible, especially for small items like business cards. Convert fonts to outlines to prevent any font mismatches during printing.
Paper Texture: Textured papers (like linen or cotton) can affect how artwork appears. Fine details or small text might get lost.
4. Engraving in Metal:
Contrast: Ensure your design has high contrast. In engraving, there's no color—only the difference between engraved and non-engraved areas.
Detail: Extremely fine details might not engrave well, especially on harder metals. Simplify designs or increase line thickness.
Depth: Consider how deep the engraving should be. Shallow engravings might not be as visible, while deeper ones will be more pronounced.
Negative Space: Remember that in engraving, negative space (the unengraved areas) is as important as the engraved parts. Ensure your design is clear and legible with the interplay of both.
Additional tips for a smoother print customization experience on your e-shop
Preview Feature: Ensure your customization software provides a real-time preview feature. This allows users to see how their design will look on the final product.
File Size Limit: Implement a reasonable file size limit to prevent extremely large uploads that could slow down your server or result in long processing times.
Resolution Warning: Implement a feature that warns users if their uploaded image might result in a low-quality print due to its resolution.
Templates: Provide templates or guidelines for each product type to help users create designs that fit well.
File Conversion: Consider offering an automatic conversion feature. For example, if a user uploads a PNG, but a JPEG would be more suitable for their design type, the software could convert it automatically.