Product setup layers
About product setup layers
Appealing and well-organized customizable product setup in the app often impacts customers' decision to purchase. It is super important to create a realistic feeling of how a customizable product will look in real life. Therefore, ask yourself some basic questions before starting the product customization process:
- What color will I use as a default for my product image where the customization will be added on?
- Do I know in what dimensions should my final print file be exported?
- Will it be a single-print product?
- Does my print file need bleeds?
- Will there be non-editable details on the print like logo of your brand or similar details?
- Do you want to prevent print errors and manual design editing after purchases?
Check the illustration below and learn more about each product setup layer in-depth:
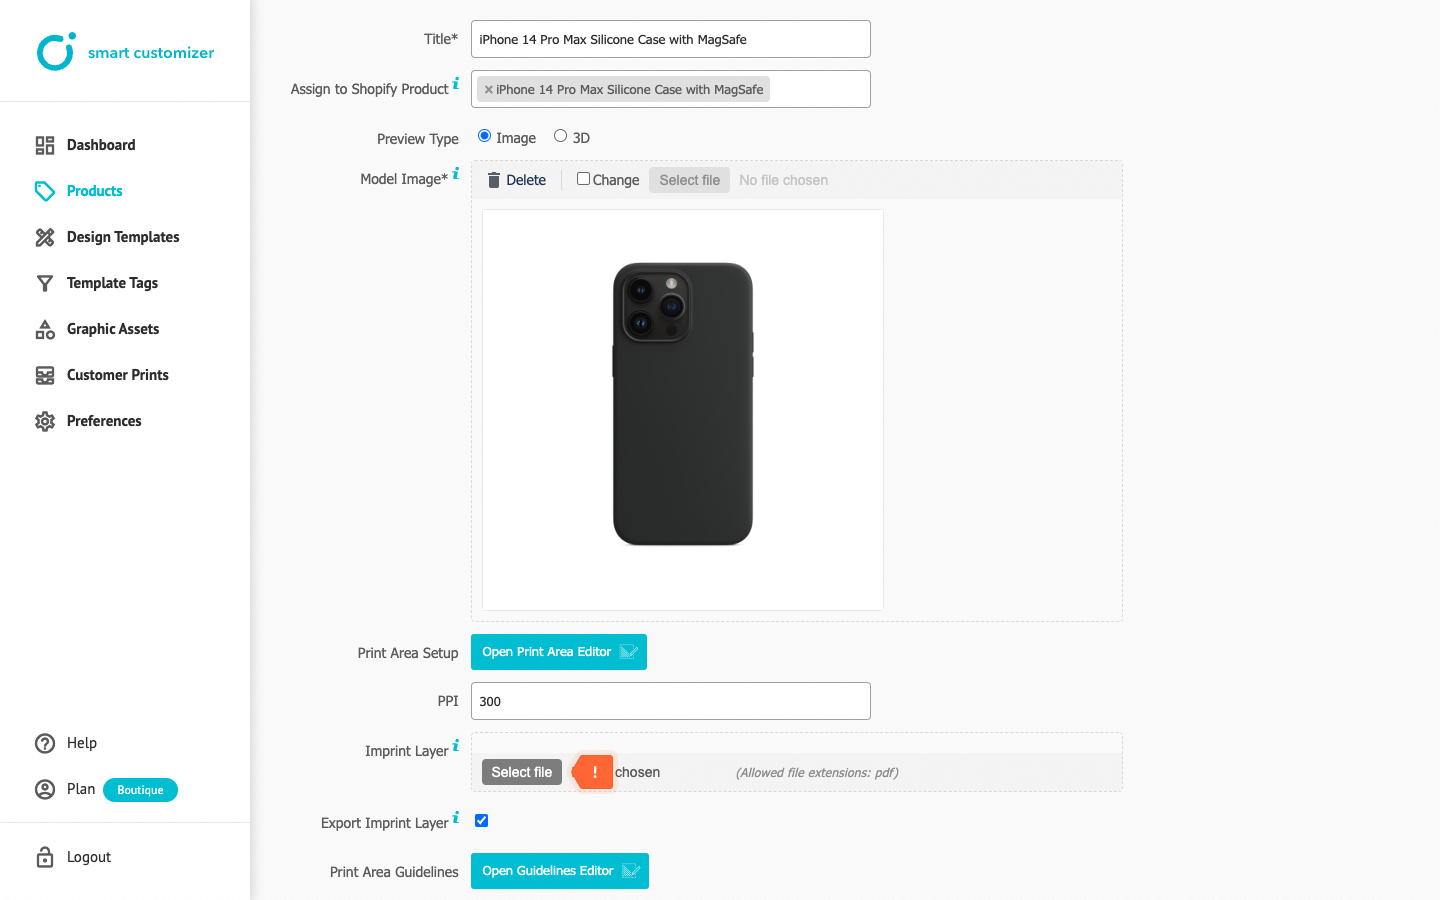
Model image
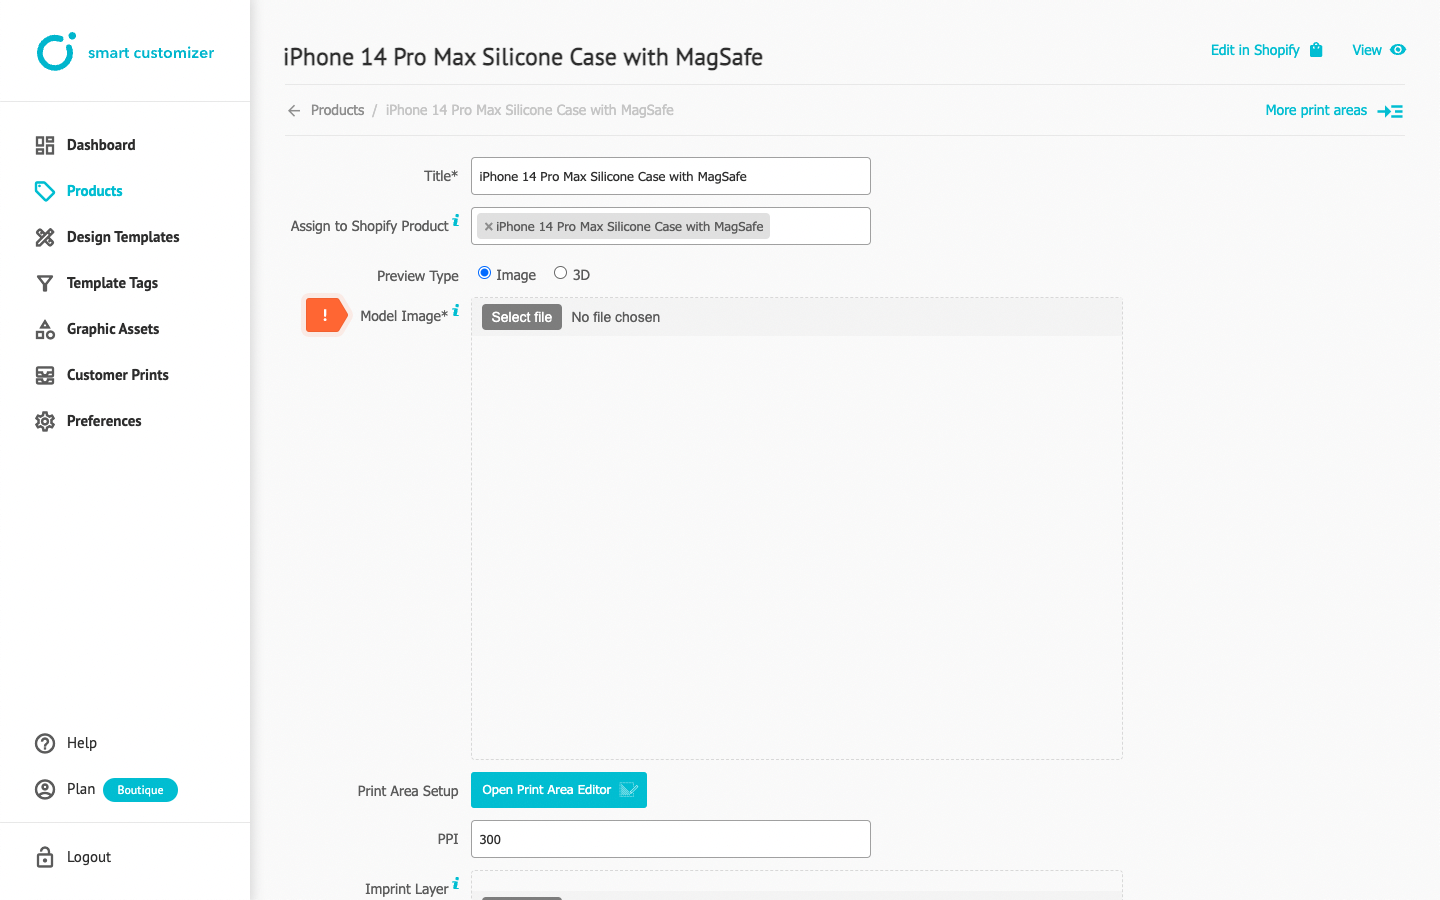
Model image is the first thing you should start thinking about once started with a 2D product setup. This is the basic layer where the customization will be added on and it will always be visible in the product preview. Therefore, the model image should be as representative as possible.
- We would recommend using a model image with white background.
- Make sure that the mode image is sharp and clean meaning that there are no blurred pixels or unnecessary graphic elements left behind.
- Since, the print is being added on the model image, make sure the image is not too small so customers can see their designs perfectly in the product preview (optimal size for a model image is 2000 x 2000 px).
- Our app supports both - .png and .jpg file formats for a model image upload.
Print area
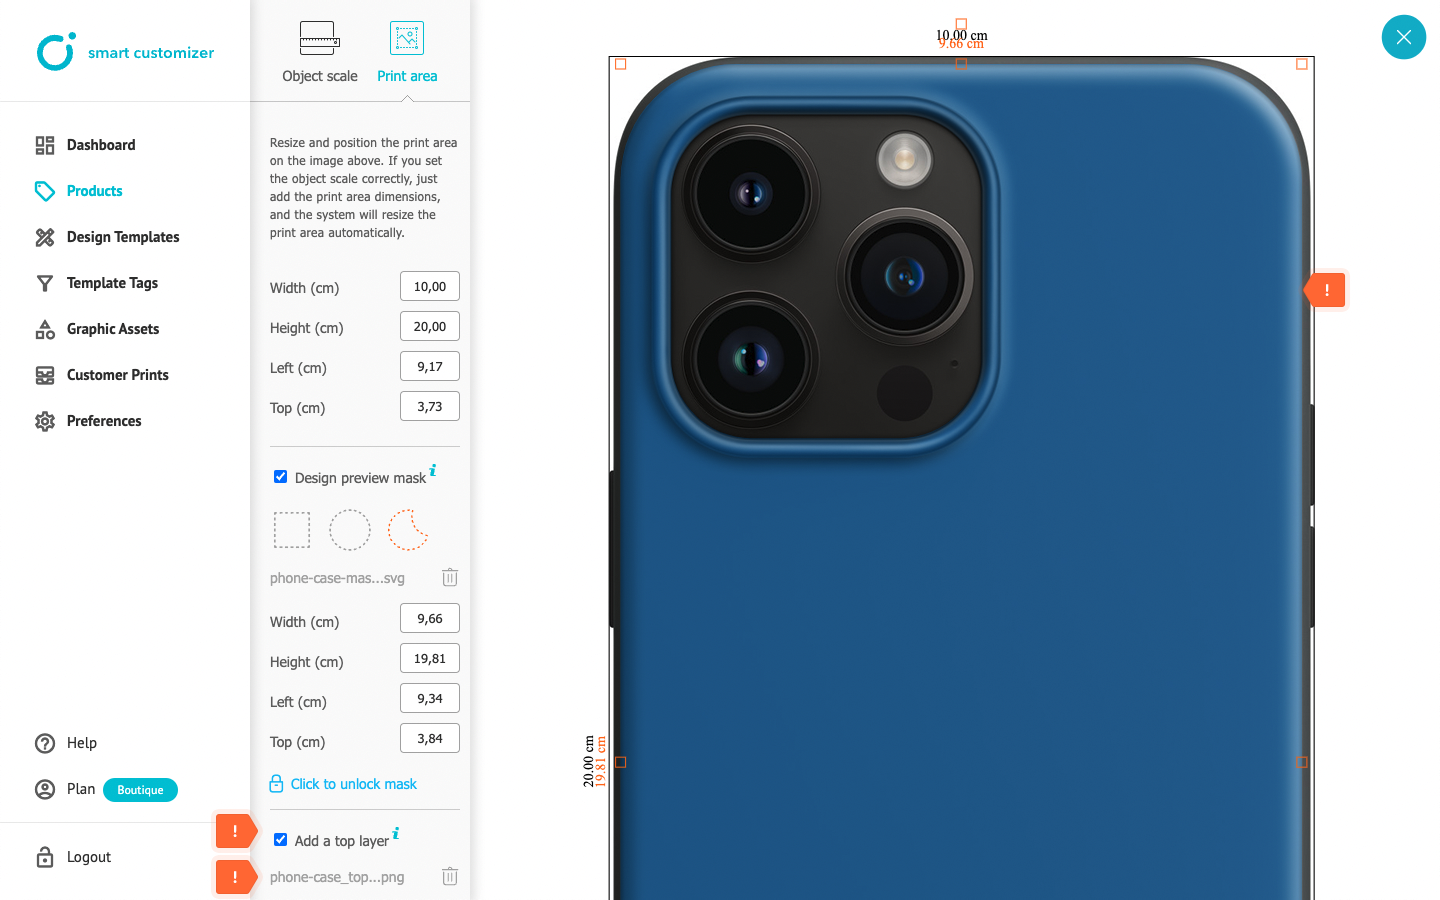
Once the model image is uploaded you can move forward with the print area setup. The print area works as a second layer and this is where the design will be drawn.
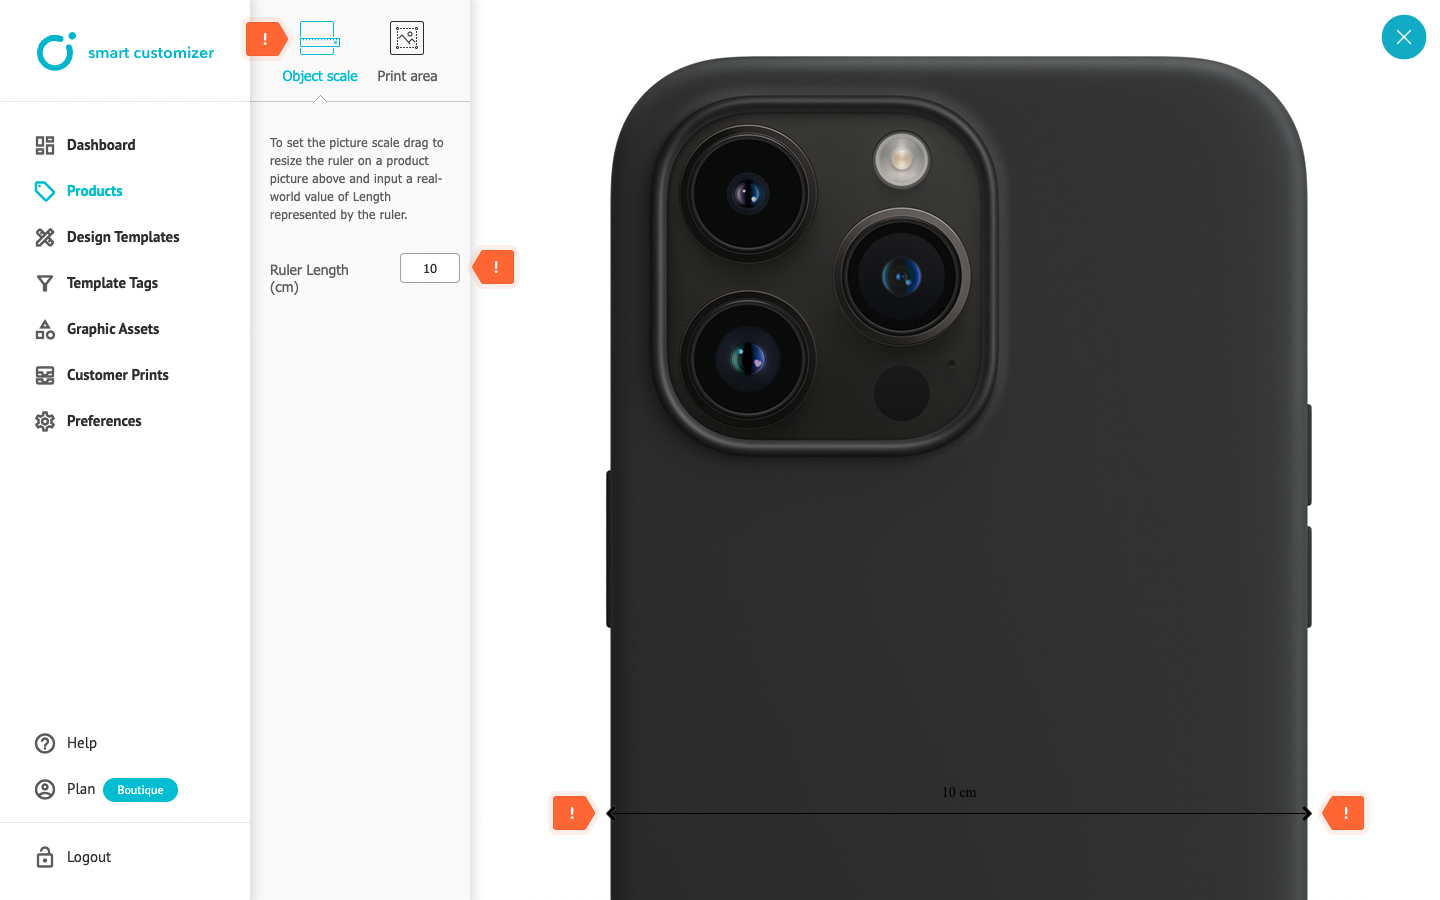
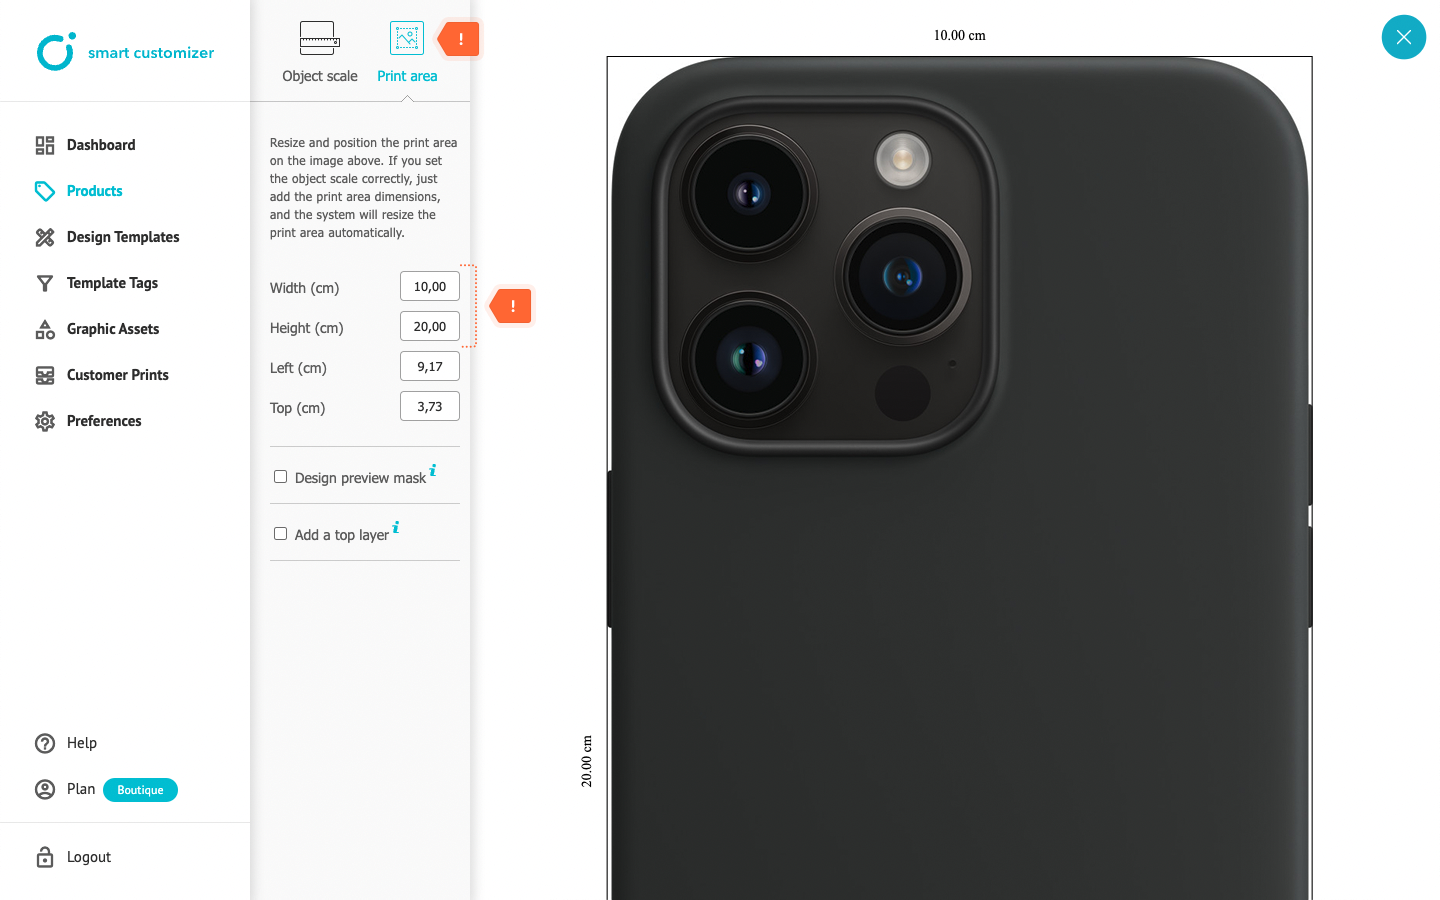
- First of all you should check the real-world scale of your product. For instance, you are making a setup for a custom Iphone case. The case back in real life is 9,6 cm wide, so it means that your Object scale should be also set for 9,6 cm. If you also want to include 2mm bleeds from all sides, the ruler value should be 10 cm.
- Adjust the ruler width accurately by dragging ruler arrows from one product side to the other and entering the real-world scale value.
- Then, switch to print area mode, enter the width and height of your print area including bleeds and place the placeholder of a print area in the correct position of a model image. Keep in mind that print files will be generated exactly in the same dimensions as your print area.
- The artboard in the design editor will also be created in the same dimensions as a print area.
Design editor
Design editor is a window where your customers edit your predefined design templates or create their own designs from scratch. Design editor has a buckle of various tools and a graphic assets library for design creation.
Design preview mask
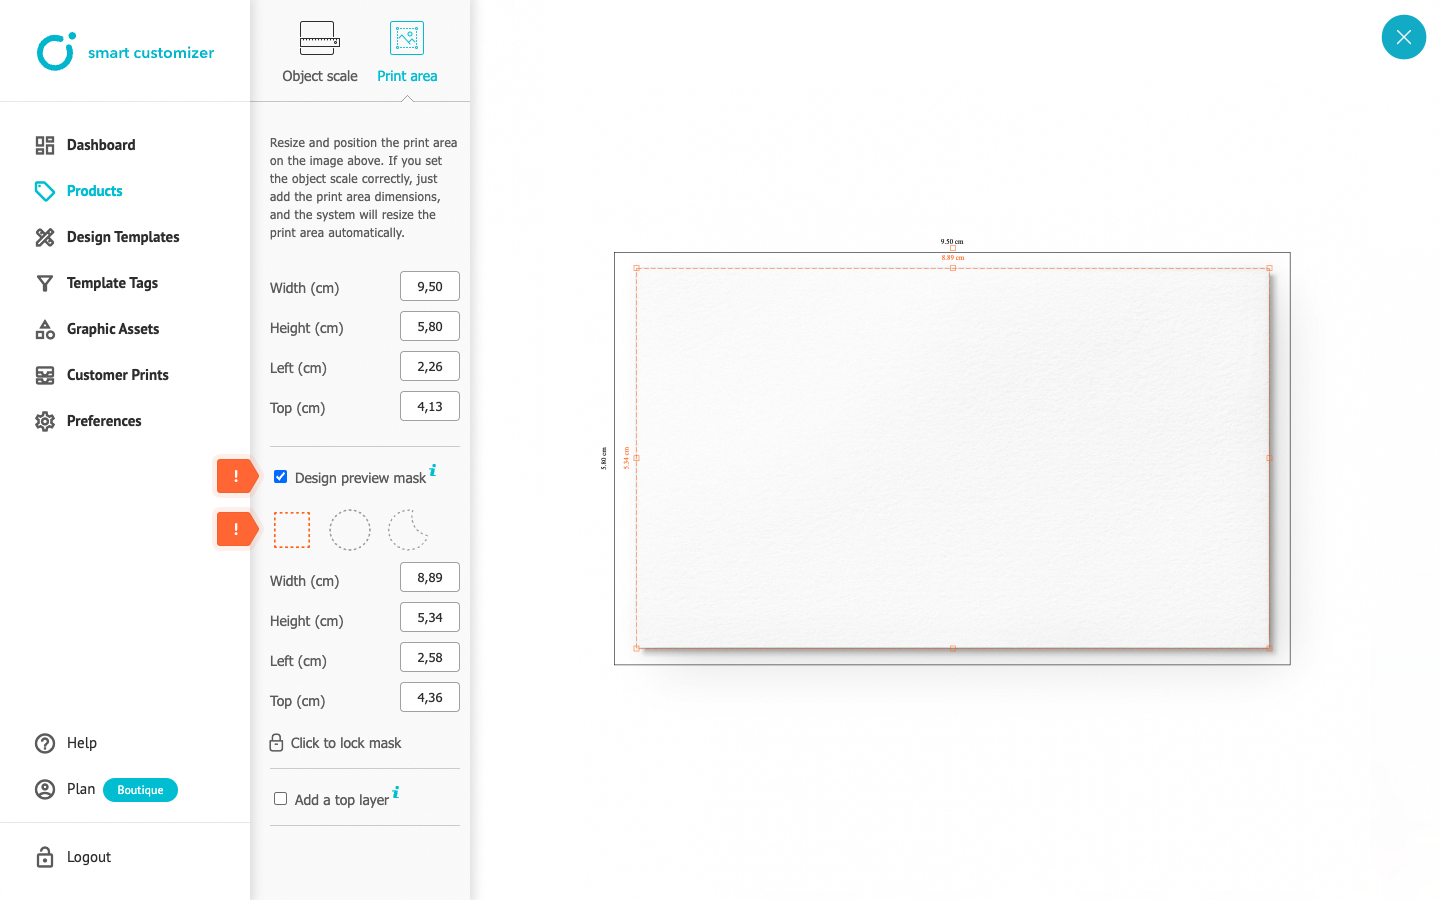
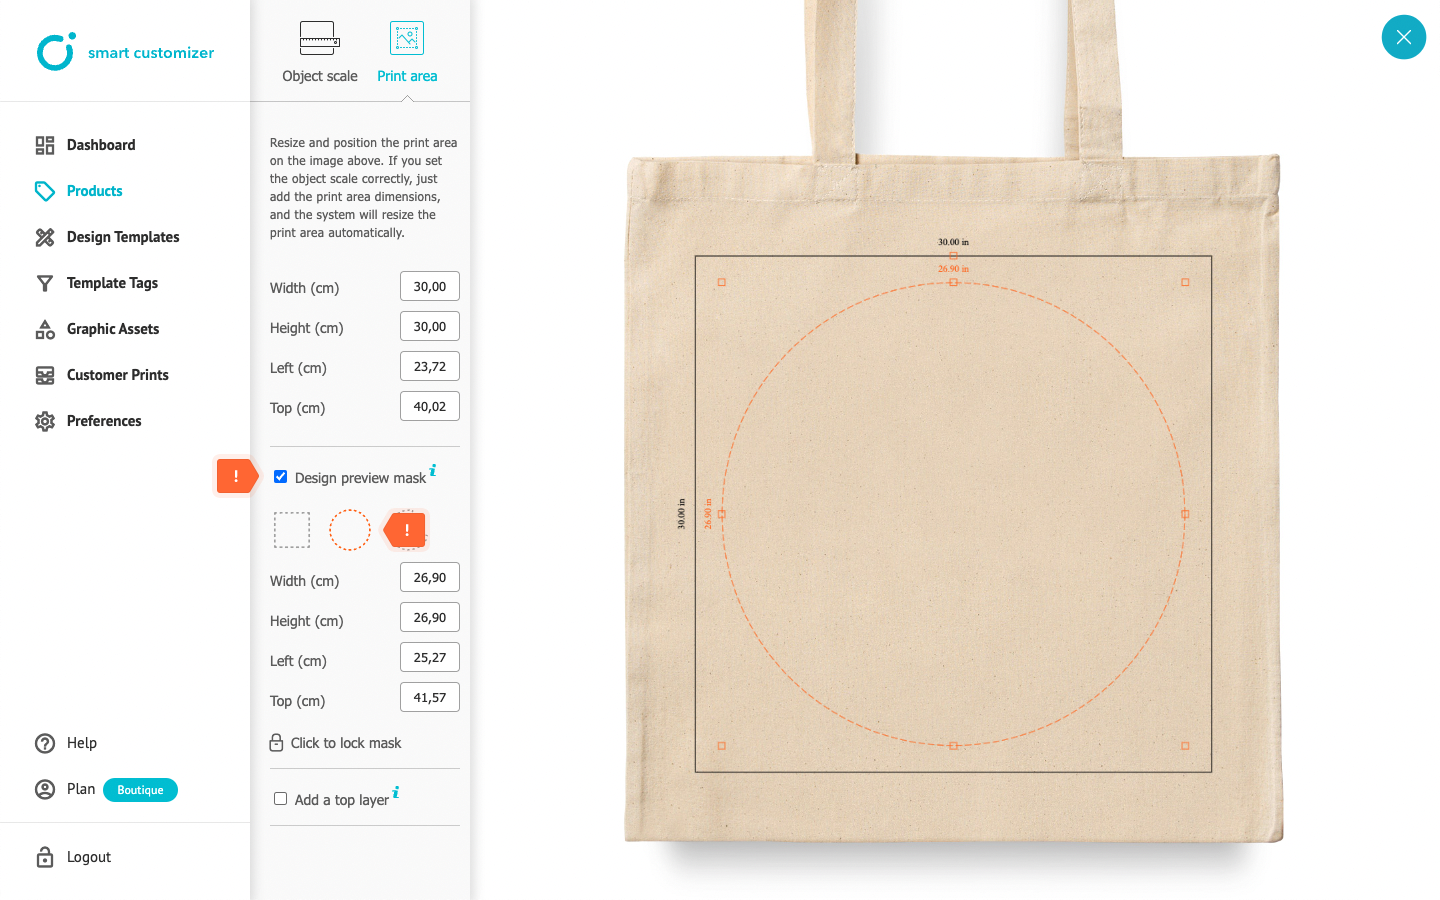
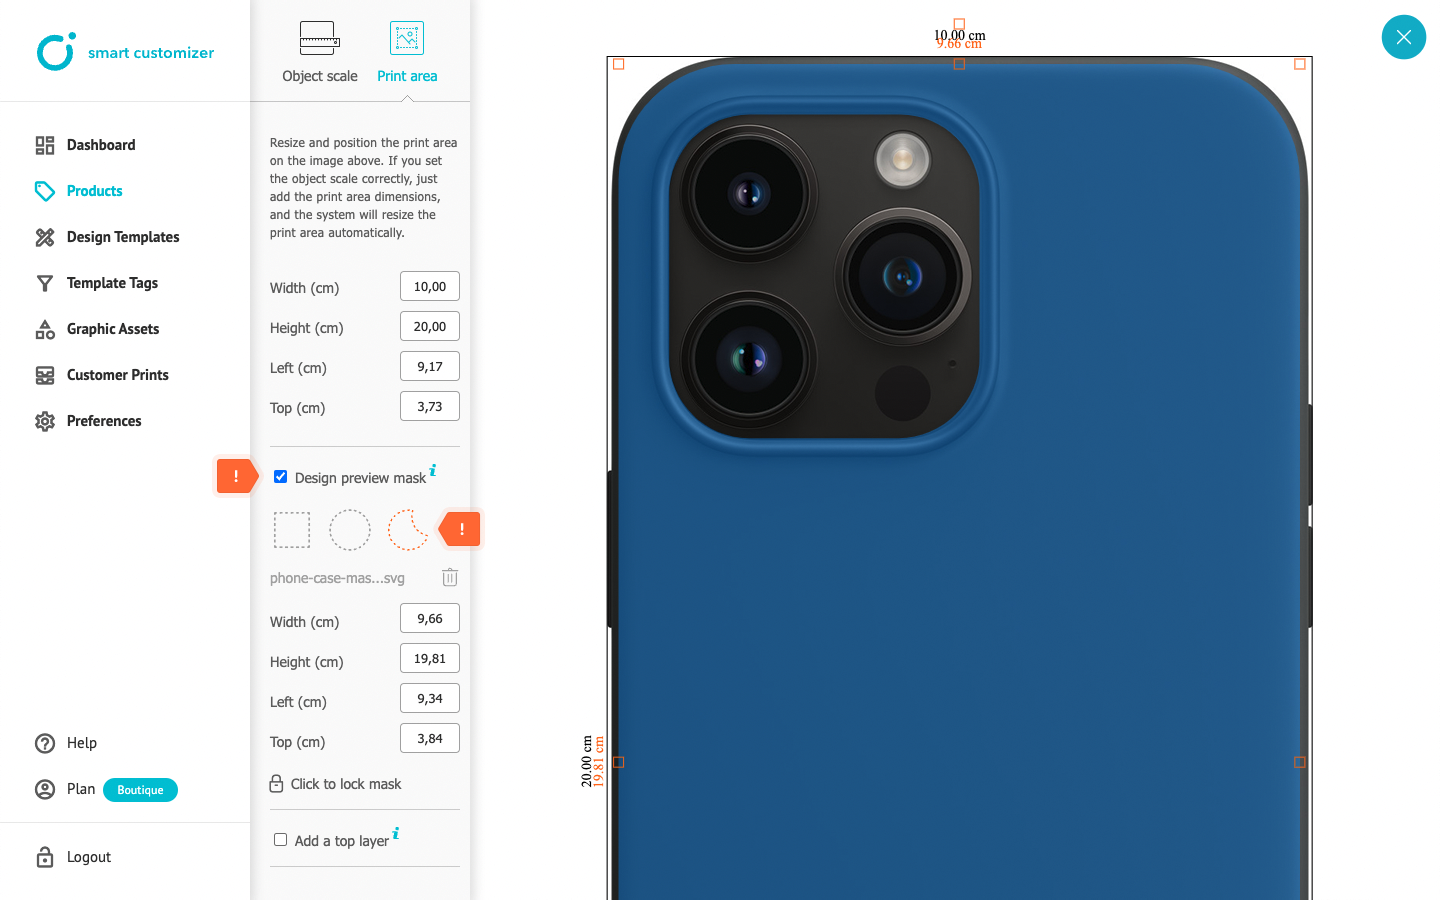
Design preview mask helps to define the design's visibility boundaries. Everything that is drawn out of mask boundaries is not visible in a product preview. It is possible to choose from 3 different design preview mask types: rectangular, circular or custom uploaded shape that can be used as a mask. Check the 3 examples below to understand more about each design preview mask type:
Rectangular design preview mask
This mask is used for products that are in a square or rectangular shape. For example a business card has a 9.50 cm x 5.80 cm print area set but we want to make sure that a customer sees a design without bleeds in a 8.89 cm x 5.34 cm size. So the rectangular mask should be drawn in 8.89 cm x 5.34 cm size and this means that a print file will still be generated in 9.50 cm x 5.80 cm size but the visibility area of the design in a product preview will be 8.89 cm x 5.34 cm.
Circular design preview mask
The artboard and a print file is always generated in a rectangular or square shape depending on the print area size but there might be cases when you need to show a design cropped in a circle once a user is in a product preview. As an example you are setting up a canvas with a 30 cm x 30 cm print area set but you want your customers to see all designs cropped in a 26.90 cm x 26.90 cm circle. So, in this case you would need to use a circular design preview mask. It is important to mention that it does not mean that the final print will be cut in a circular shape, the design of your customers will be cropped in a circle for preview only.
Custom shape design preview mask
Sometimes none of the above will suit your needs. More organic shapes like Iphone cases will need a custom shape for a design's crop in the product preview.
- Custom mask shapes should be prepared in Illustrator or other programs with the artboard dimensions that match the size of the print area set in our app.
- Once you have the correct artboard size, you can draw a custom mask shape that will be used as a mask in our app.
- Please make sure your custom shape has a solid one color fill and does not use strokes or gradients.
- Smart Customizer app supports .svg file format for a custom mask upload. To understand better how the custom mask works, check an example below:
Safe print area guidelines
The safe print area guidelines are visible in the design editor only and help to ensure that the design file meets the highest print standards and will be sent to production correctly.
- Usually, safe print area guidelines define the trim box, bleeds and safe print area.
- You can prepare a simple file with your custom colors and notes in Illustrator or other programs.
- Make sure all vector elements have a solid fill without gradients and strokes applied.
- Upload safe print area guidelines in .svg or .pdf file formats.
Read more about safe print area guidelines.
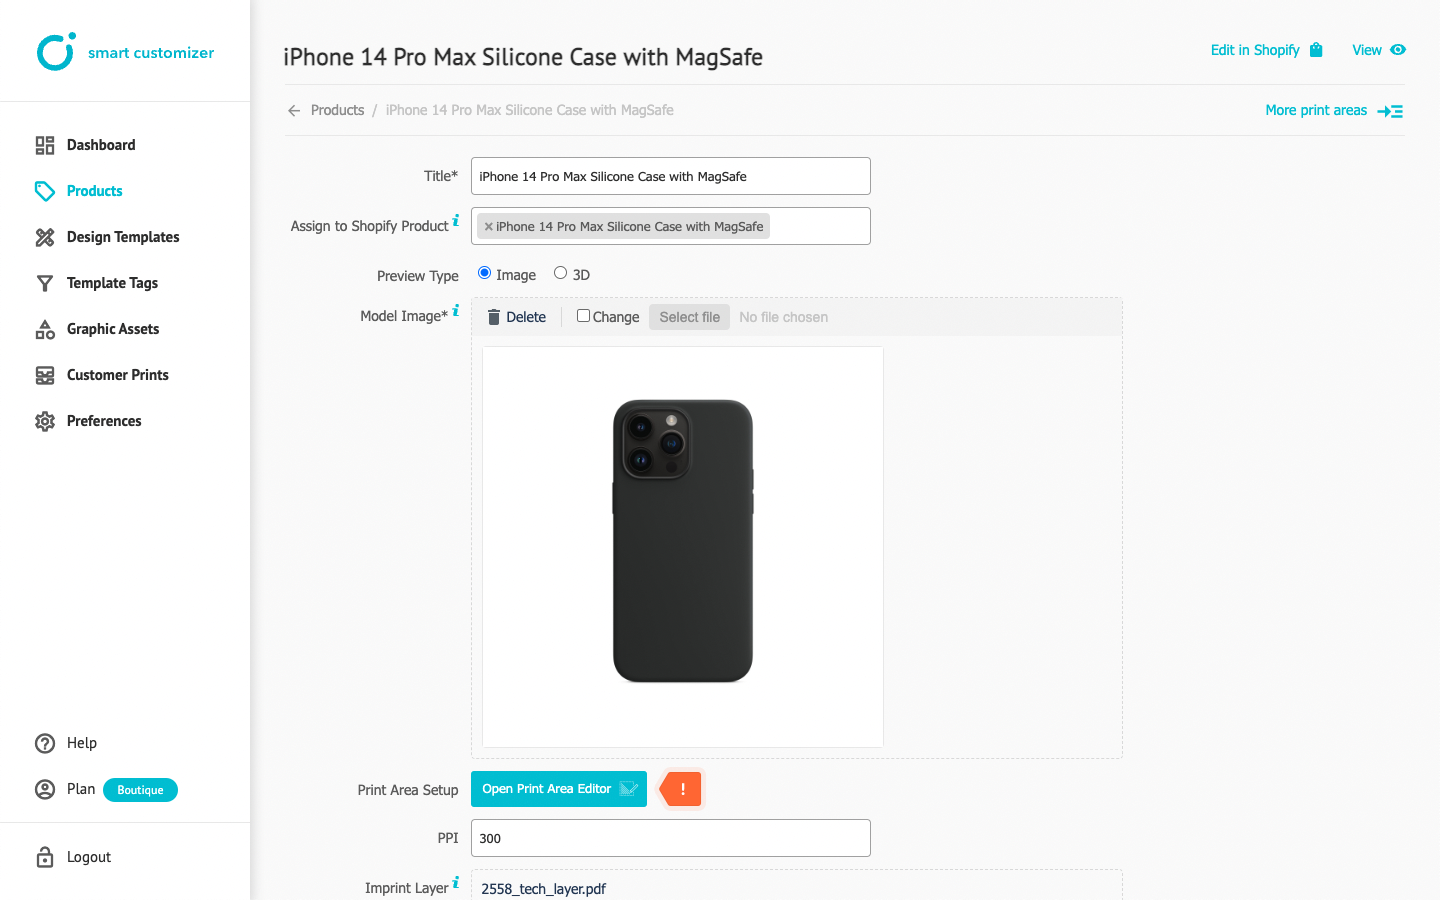
Imprint layer
- The imprint layer or simply imprint is a technical layer that is mostly used for non-editable information like the company's logo, slogan, barcodes, and similar details.
- Imprint is always visible in the product preview and can be optionally exported or not with the final print file.
- The Smart Customizer app allows uploading an imprint layer in .pdf file format.
- It will not be editable after upload so pay close attention to the artboard dimensions you are creating an imprint layer at. They are supposed to match the print area size which is set in the app.
Top layer
As the title refers, the top layer is the last layer of the 2D product setup.
- The top layer is a final decorative touch where all visual details like product shadows, highlights, and reflections take the place.
- Top layer is visible in the product preview only.
- You can upload a top layer in a .png file format.
- Top layer should be exactly the same same size as your model image.
Check an example below for a better understanding:
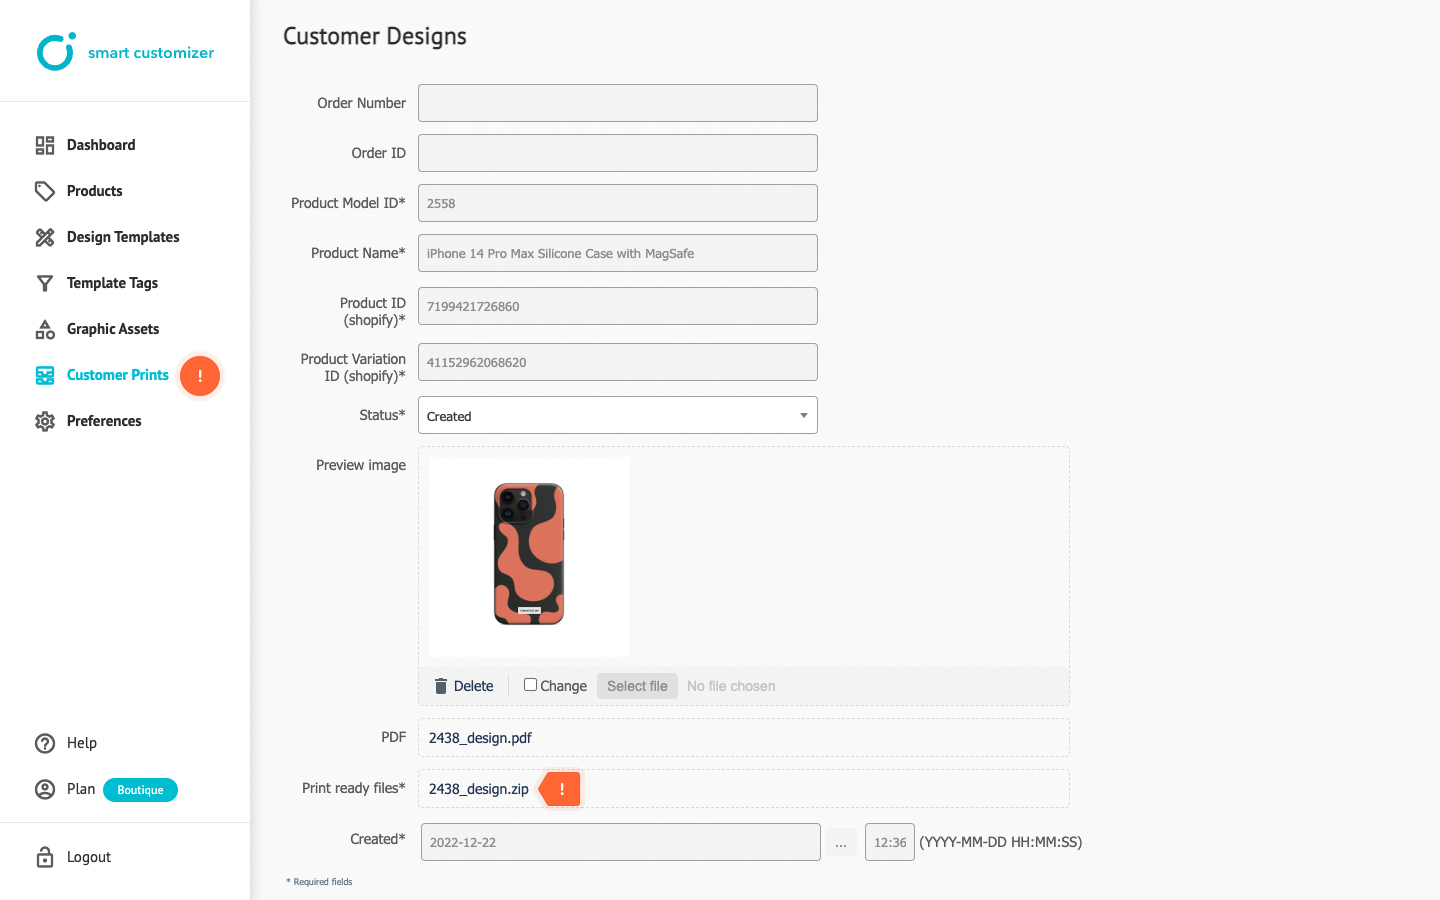
Print-ready file
- All design print files created by your customers can be found in Customer prints or in Shopify’s/WooCommerce orders information.
- For paid orders, print files are generated automatically, while for unpaid orders, print files can be generated manually.
- Print files can be generated in .pdf, .jpg or .svg file formats. Learn more about where to find customer prints.
